


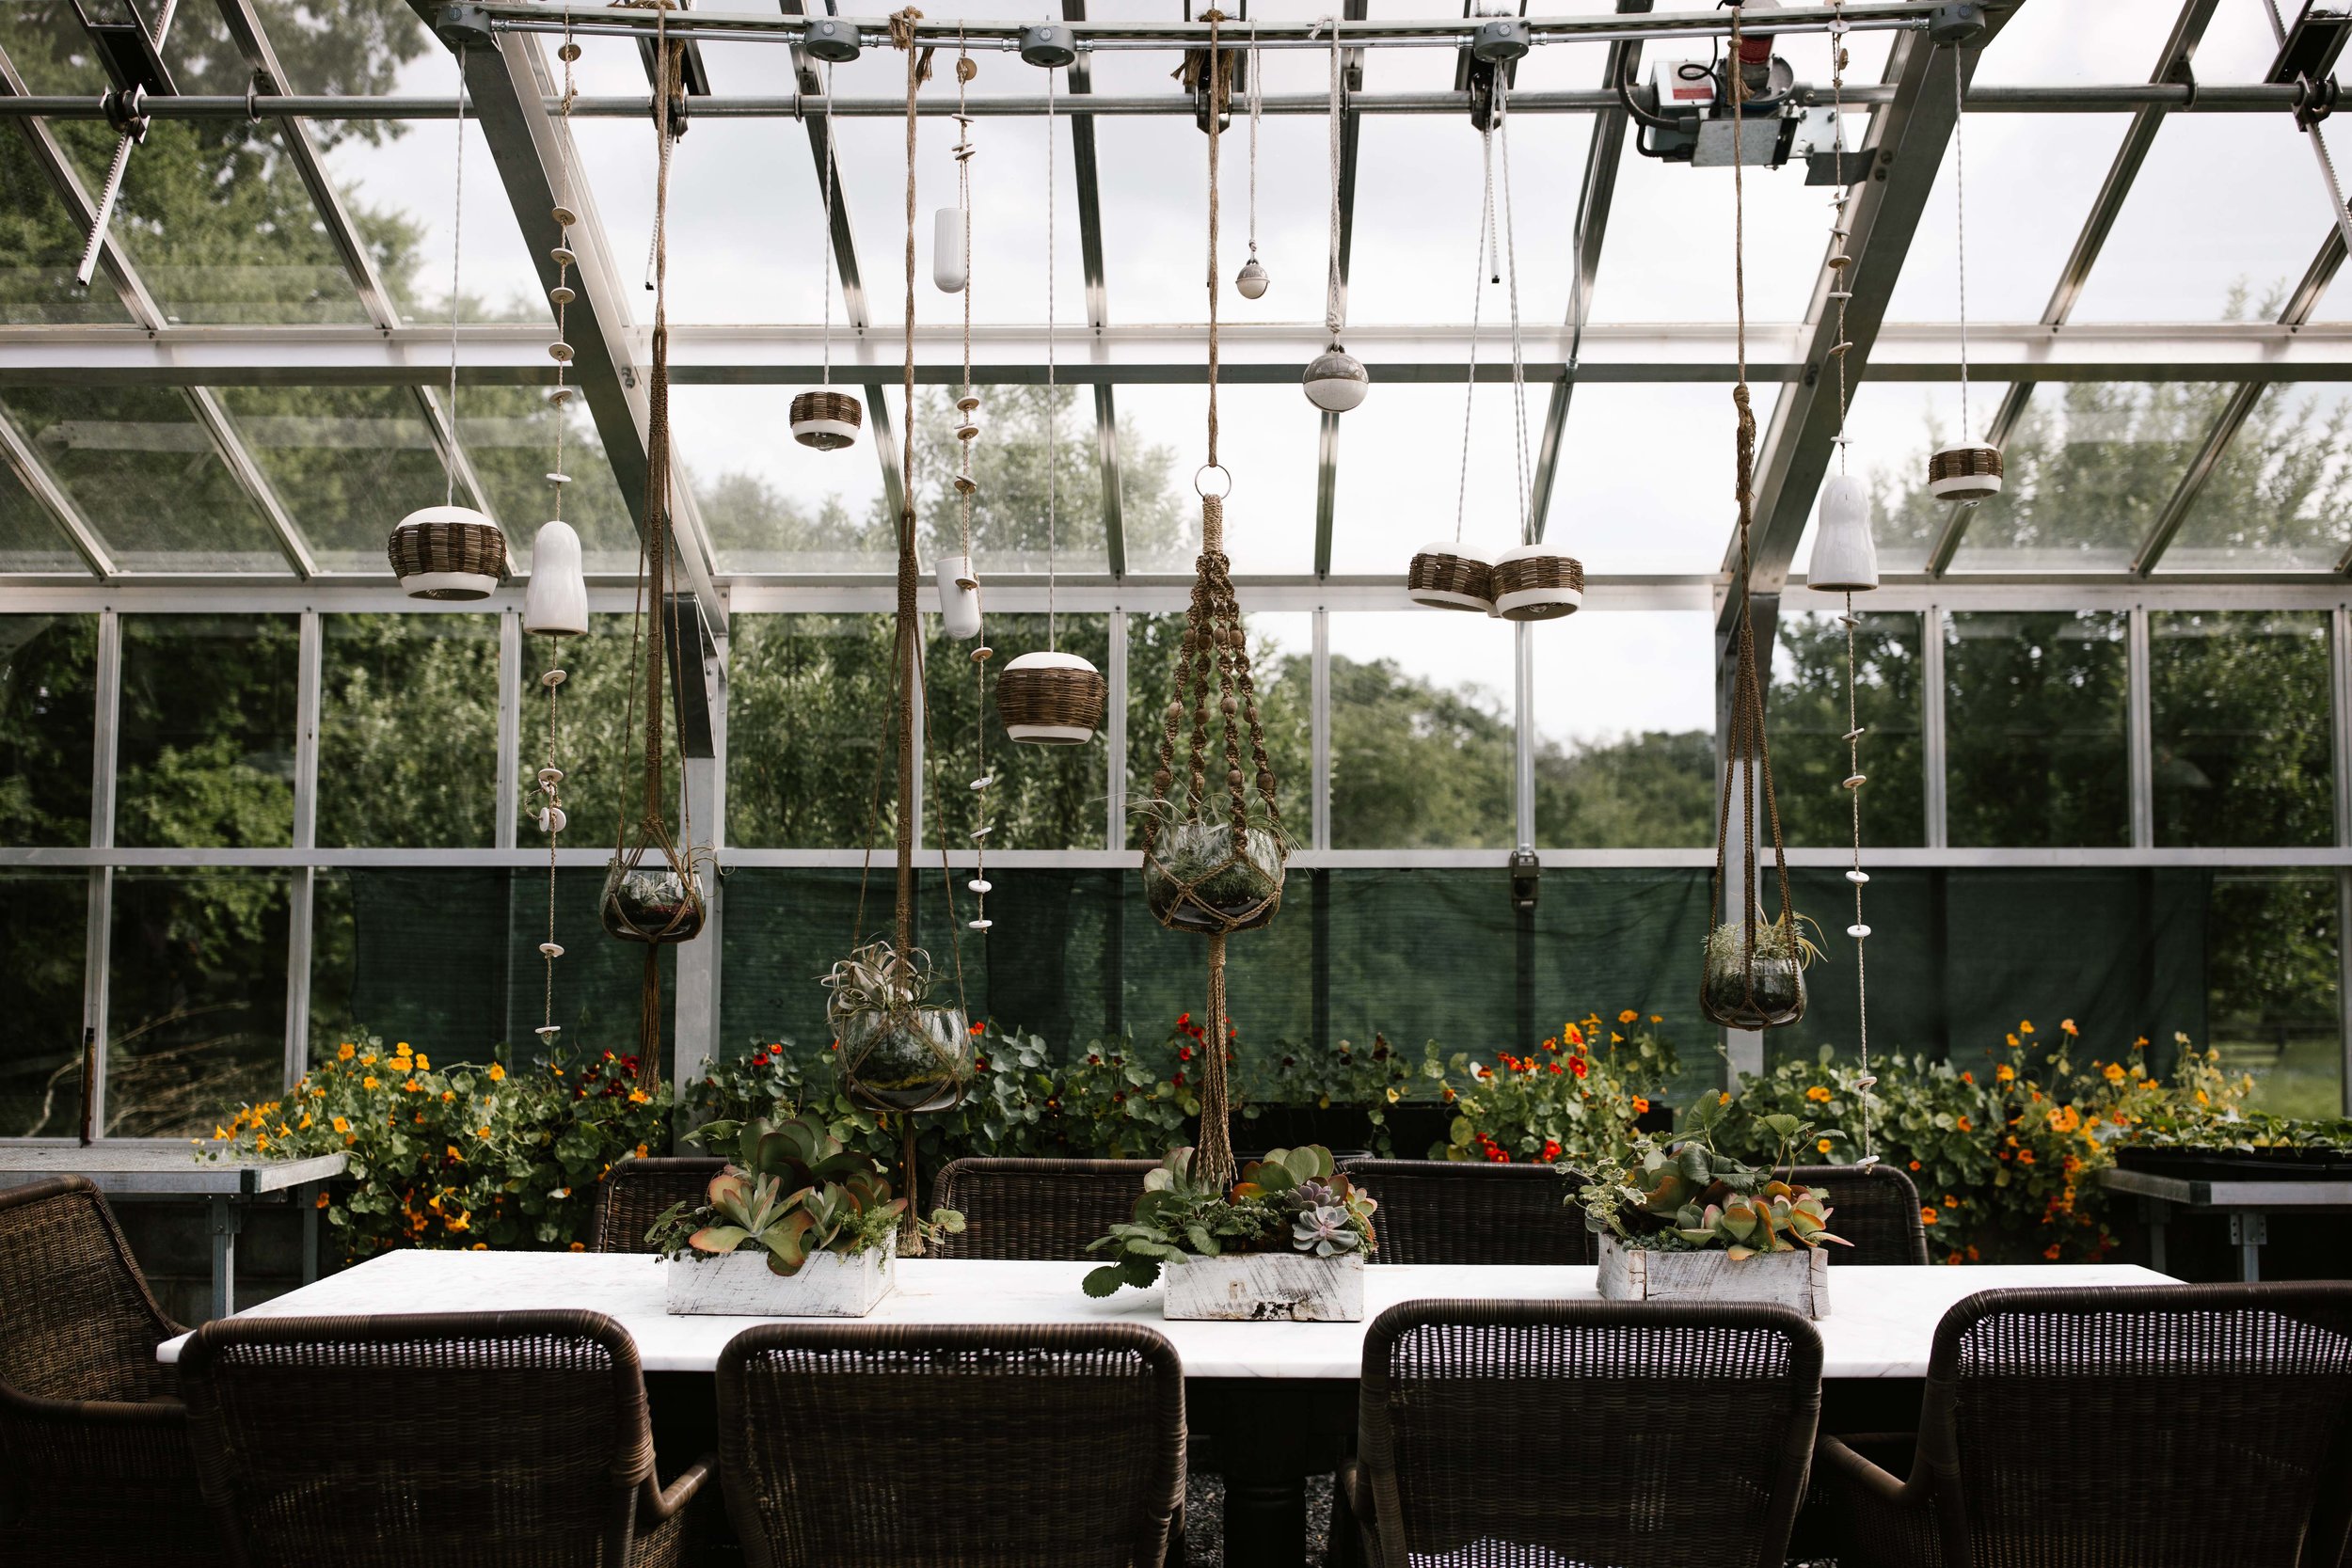
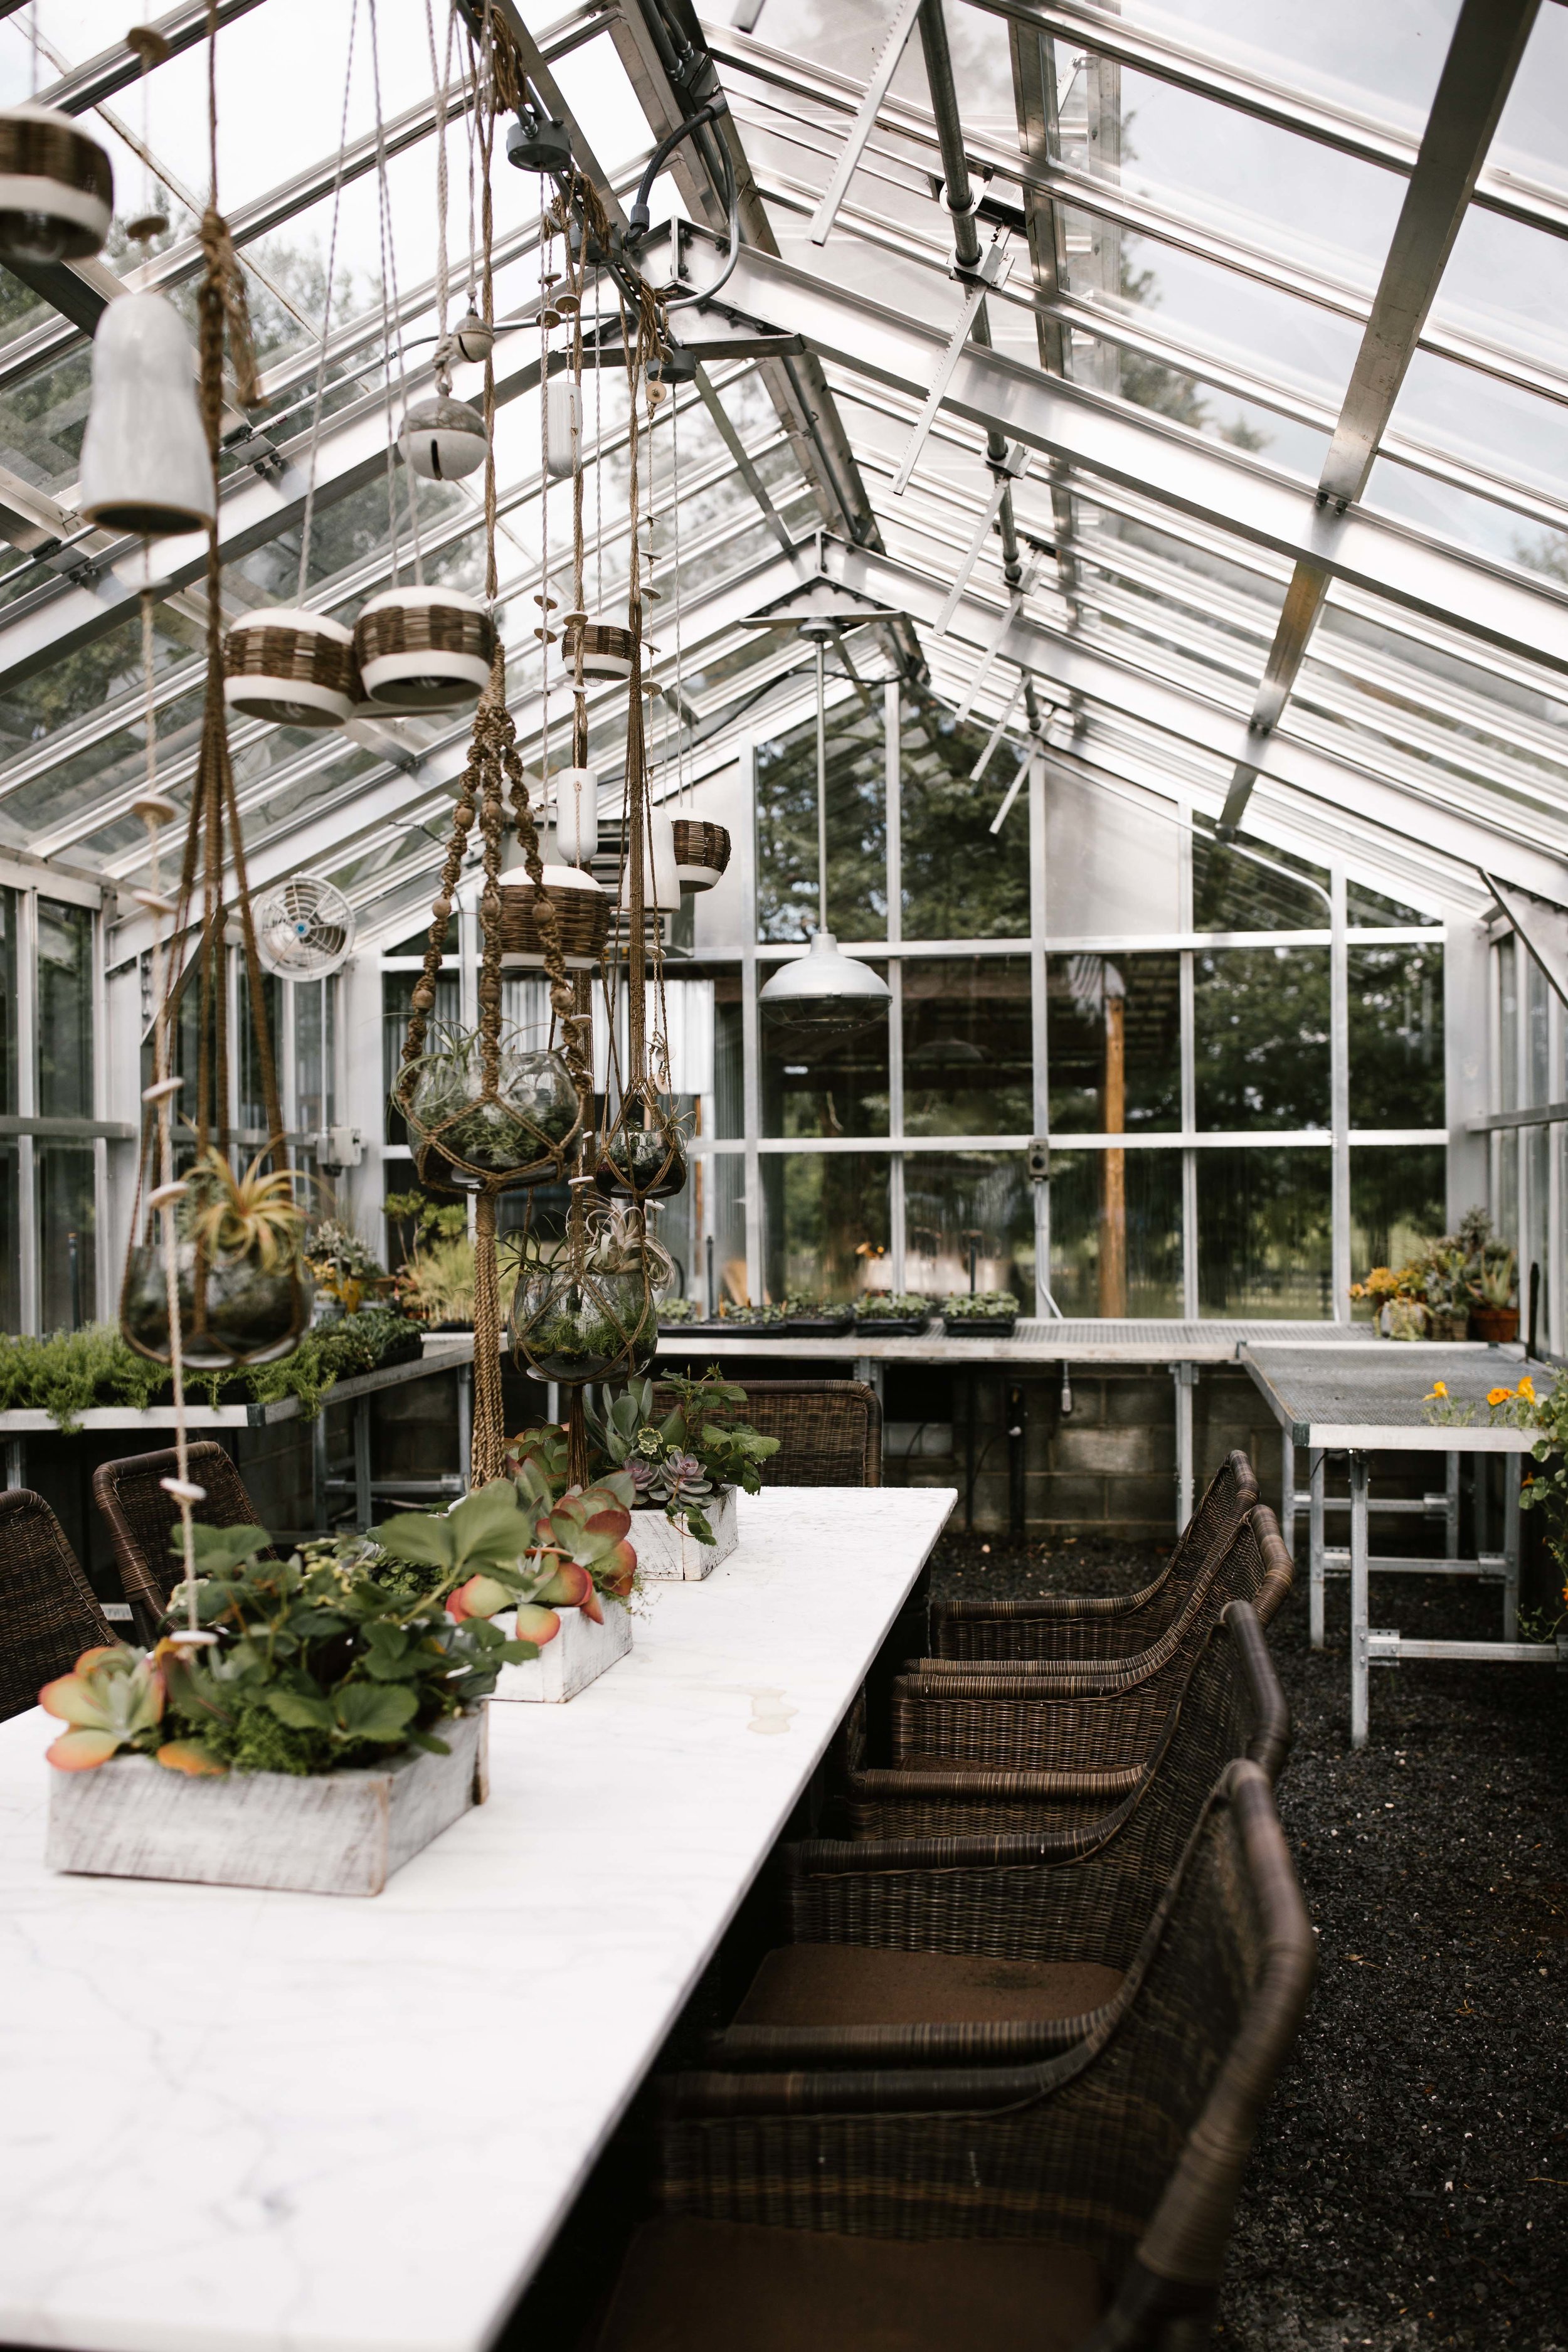
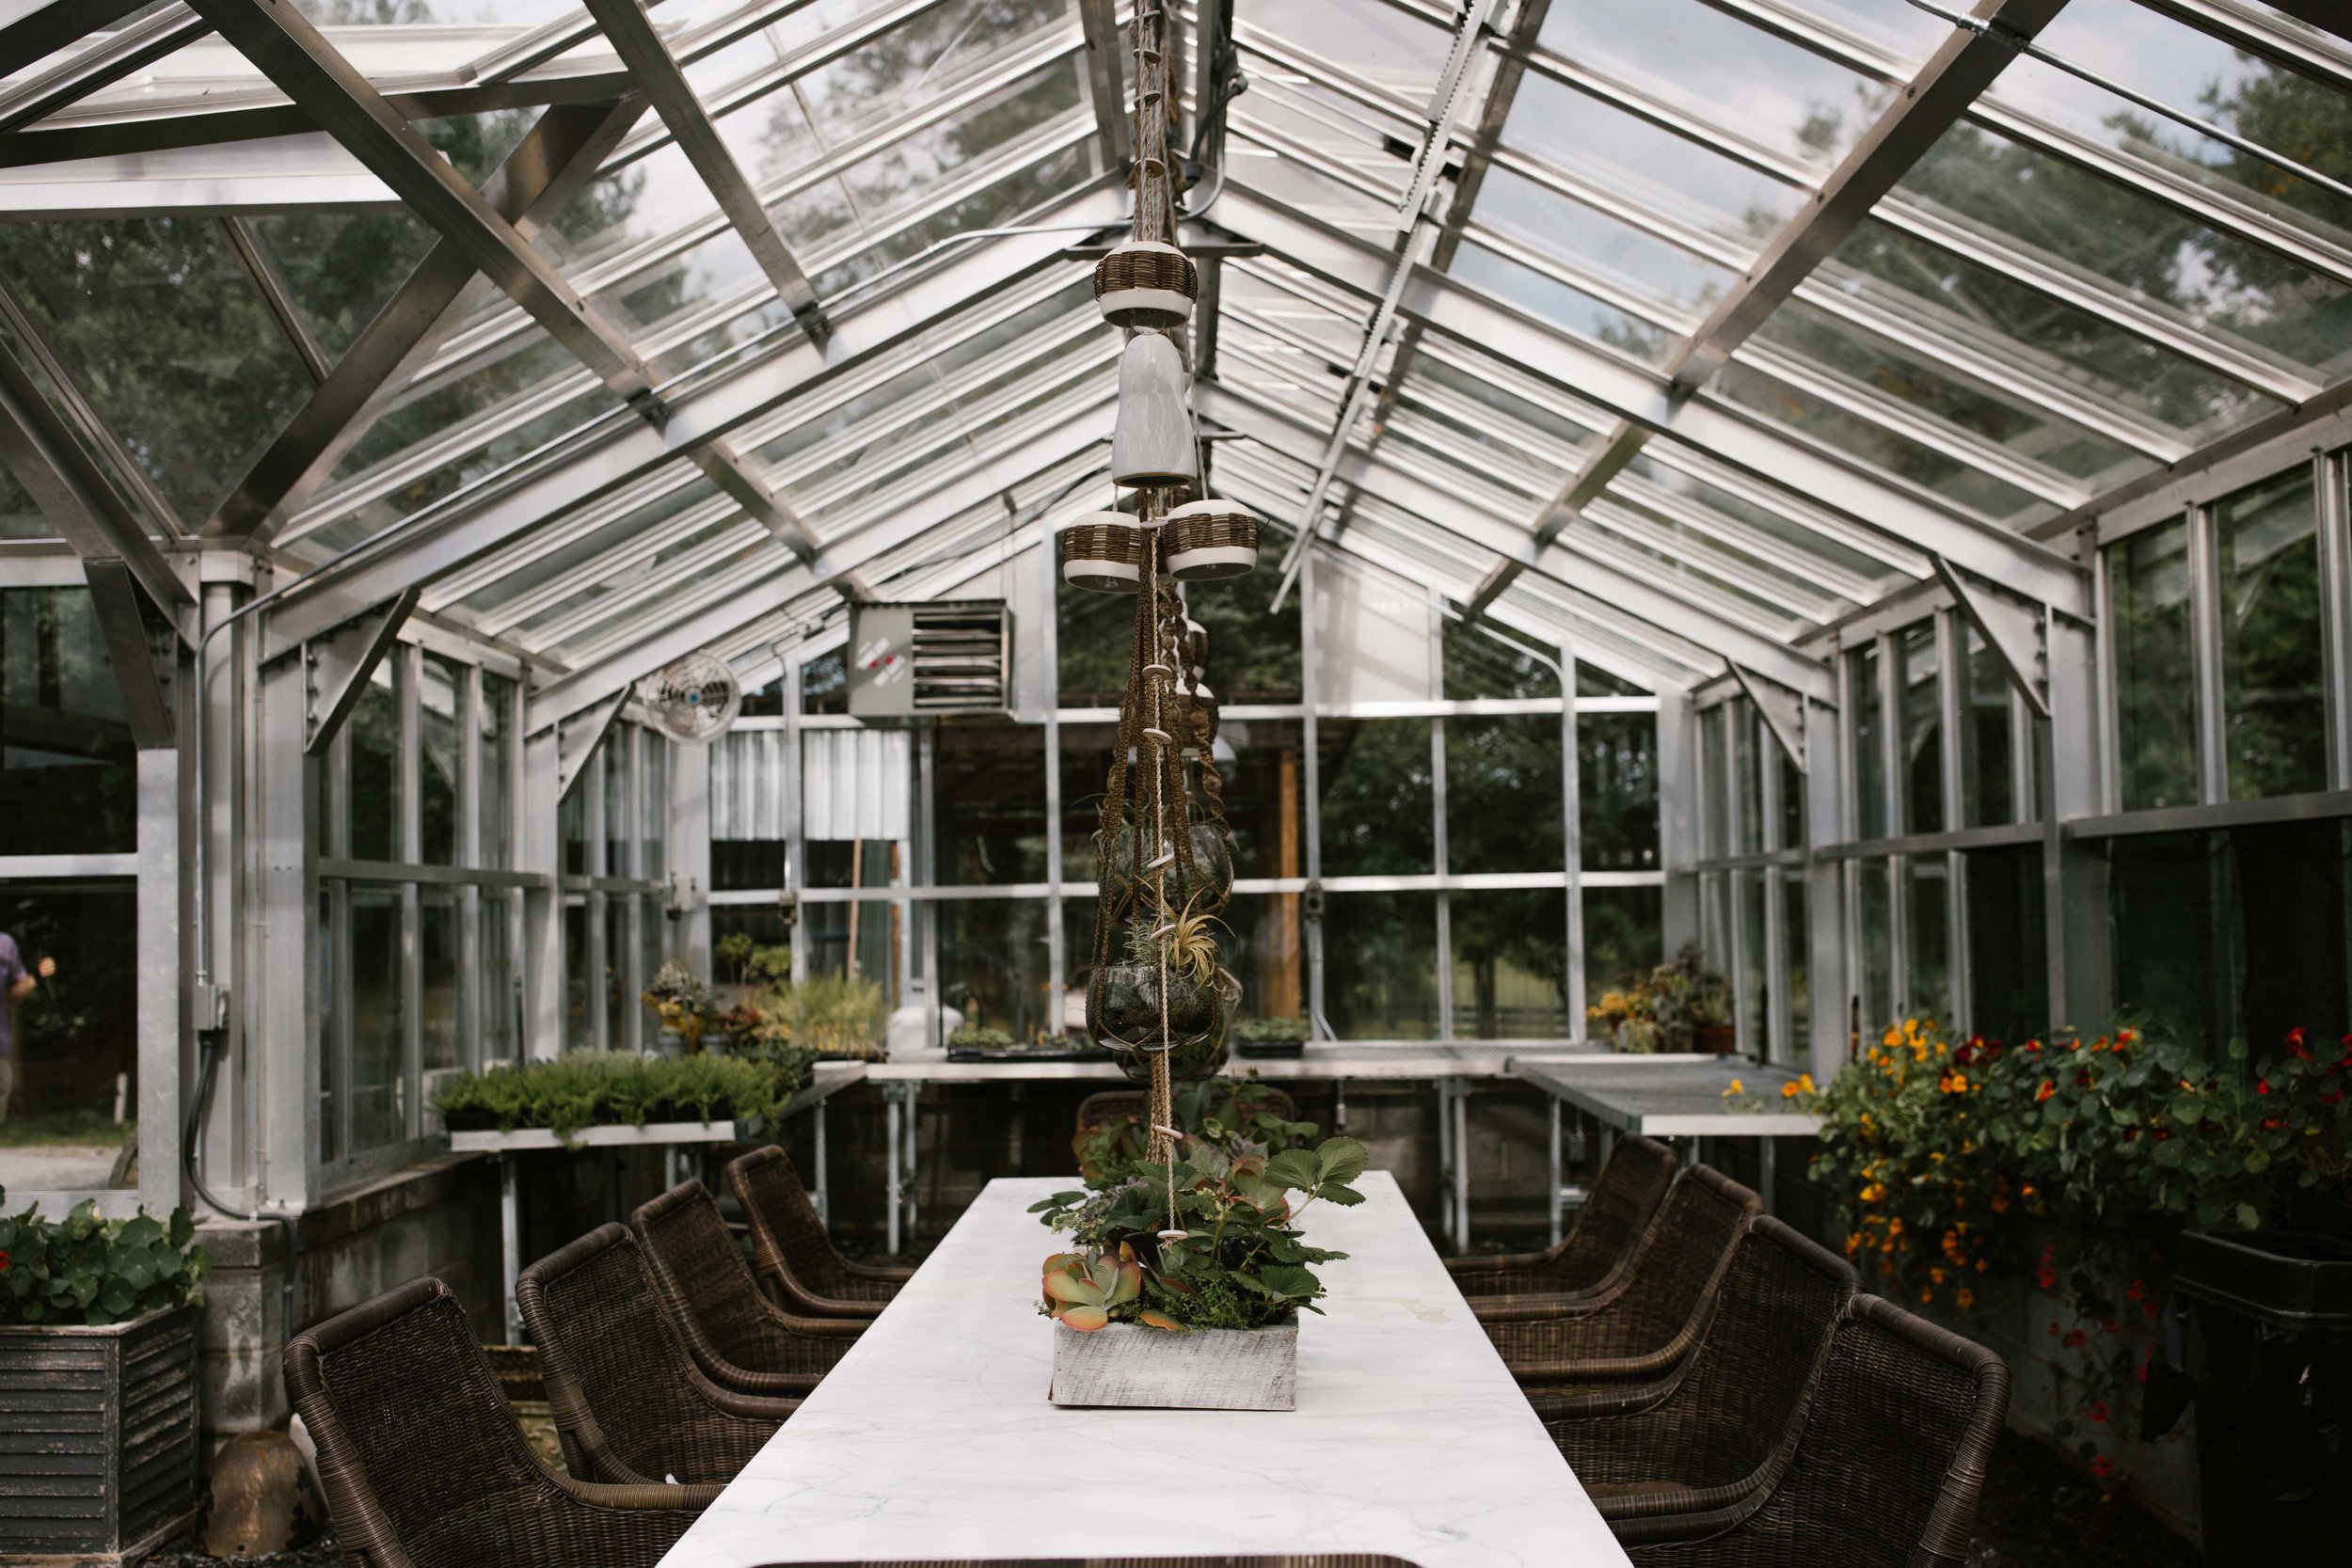
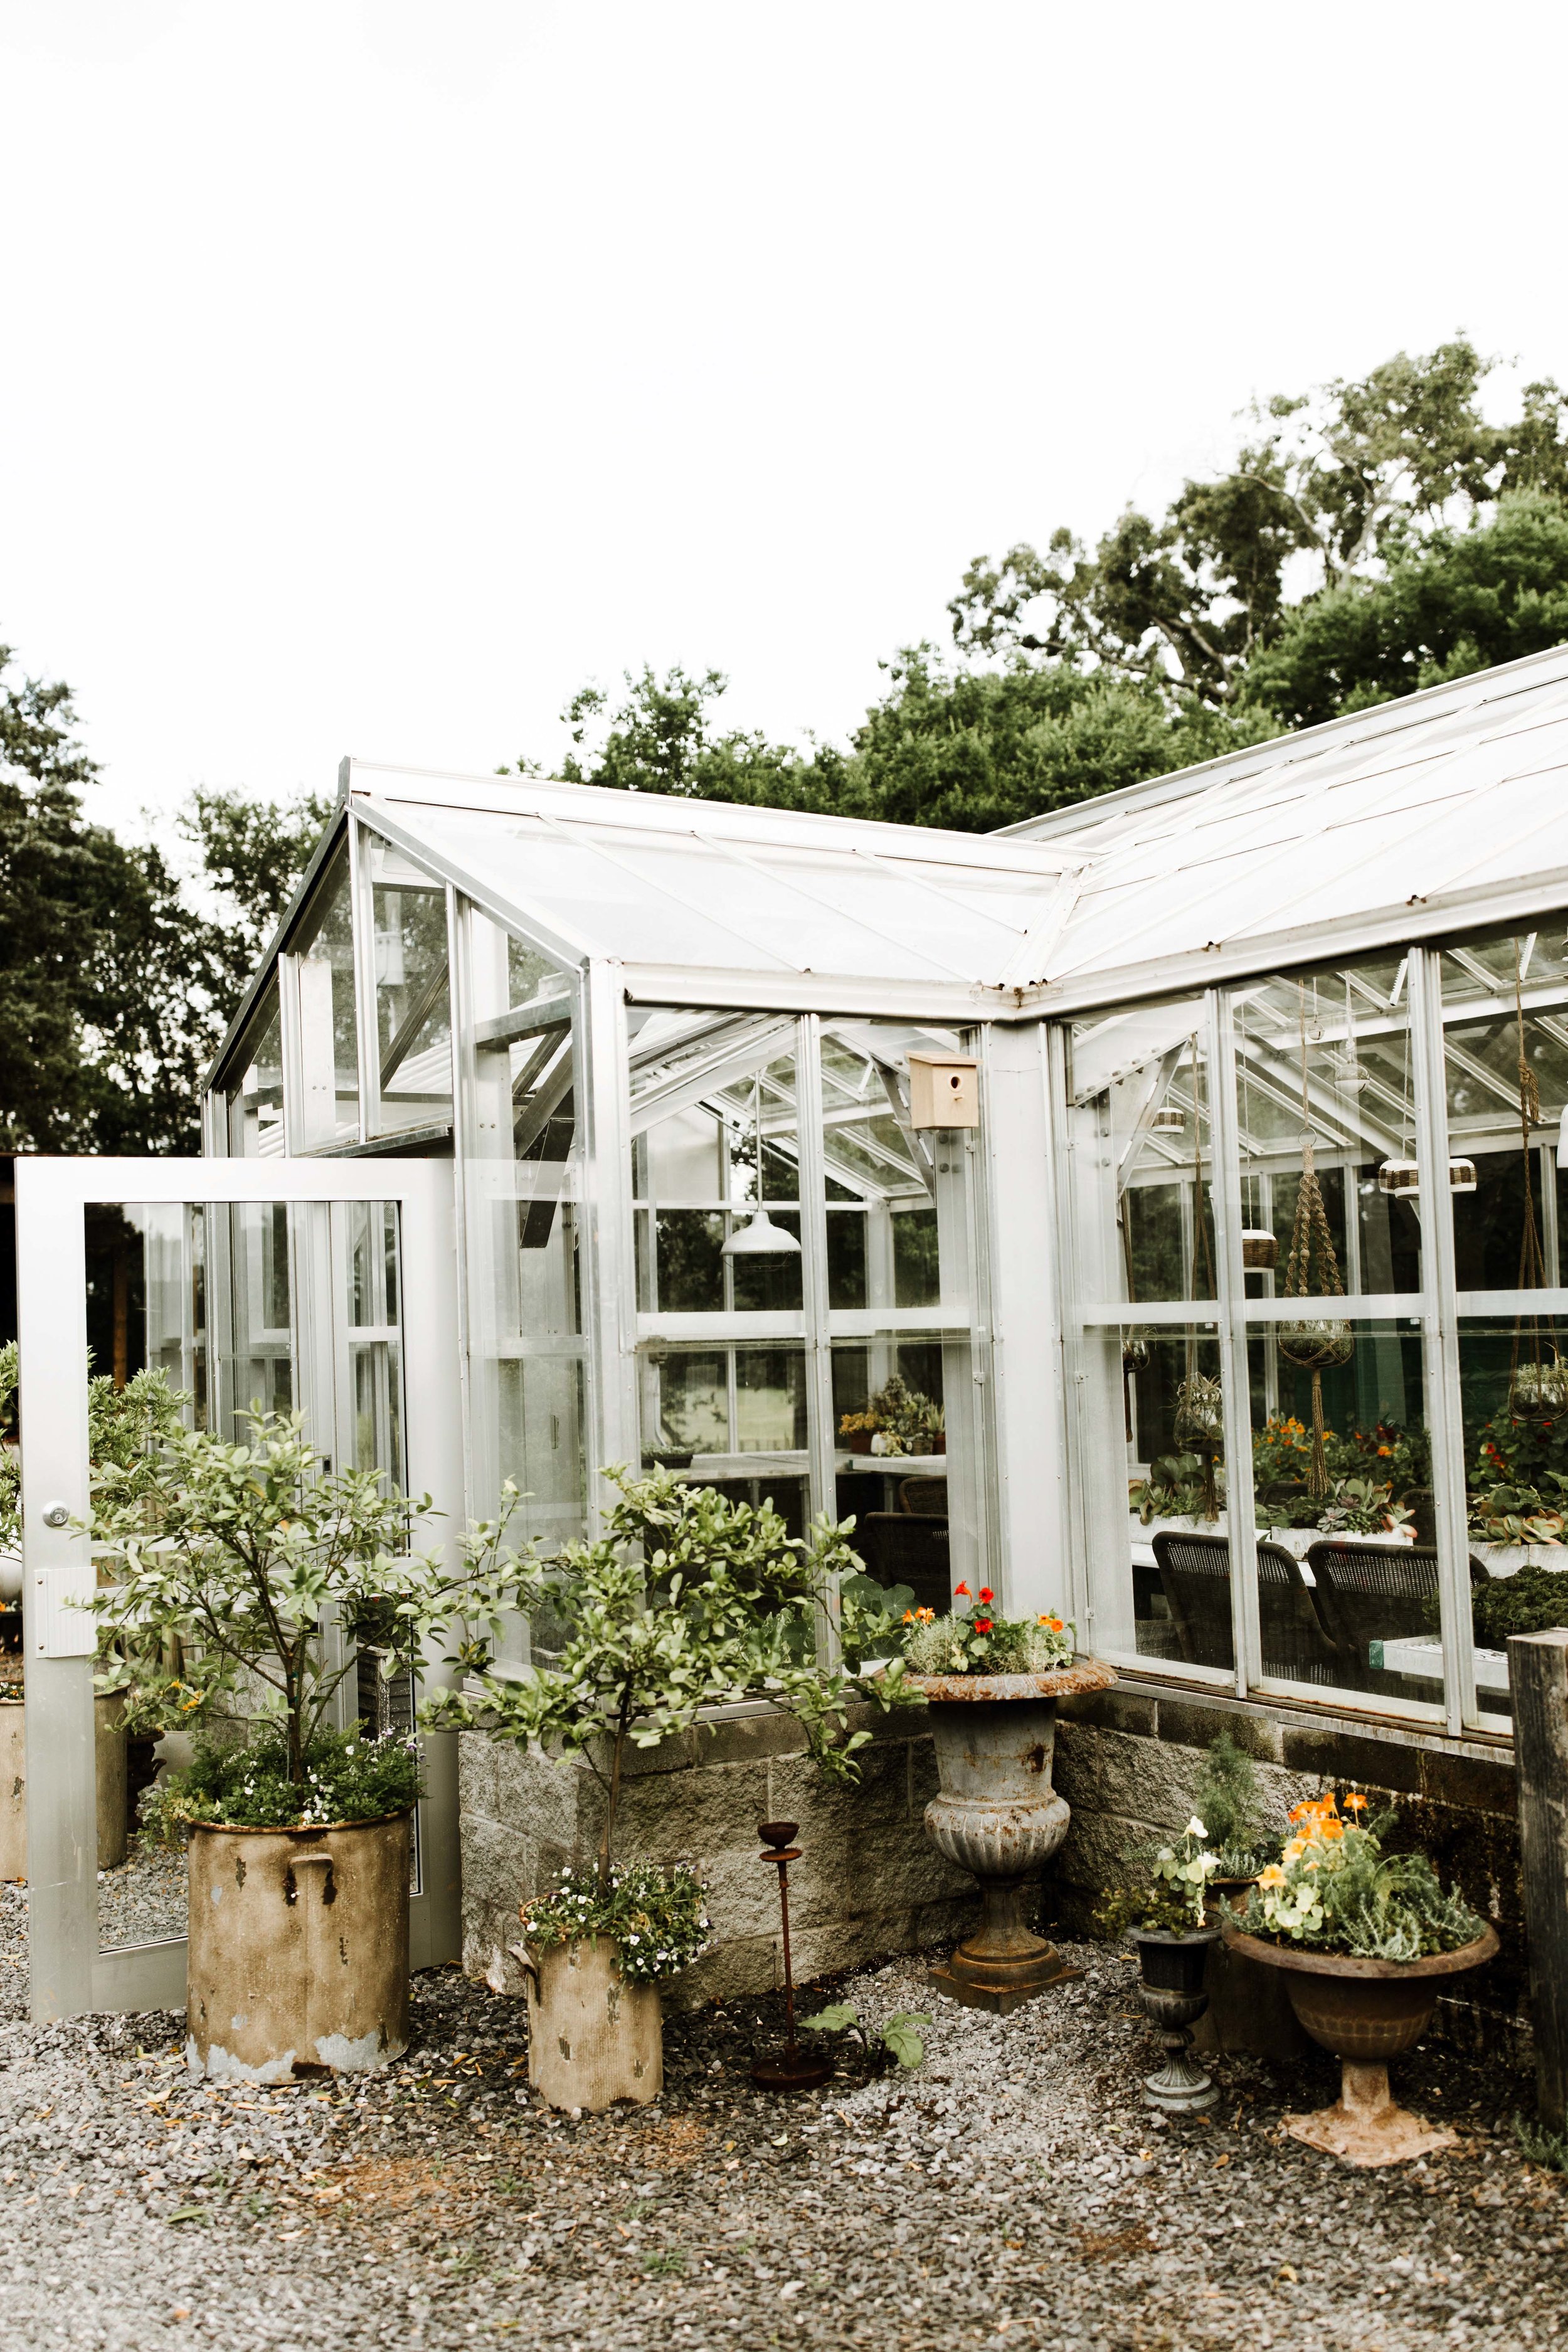
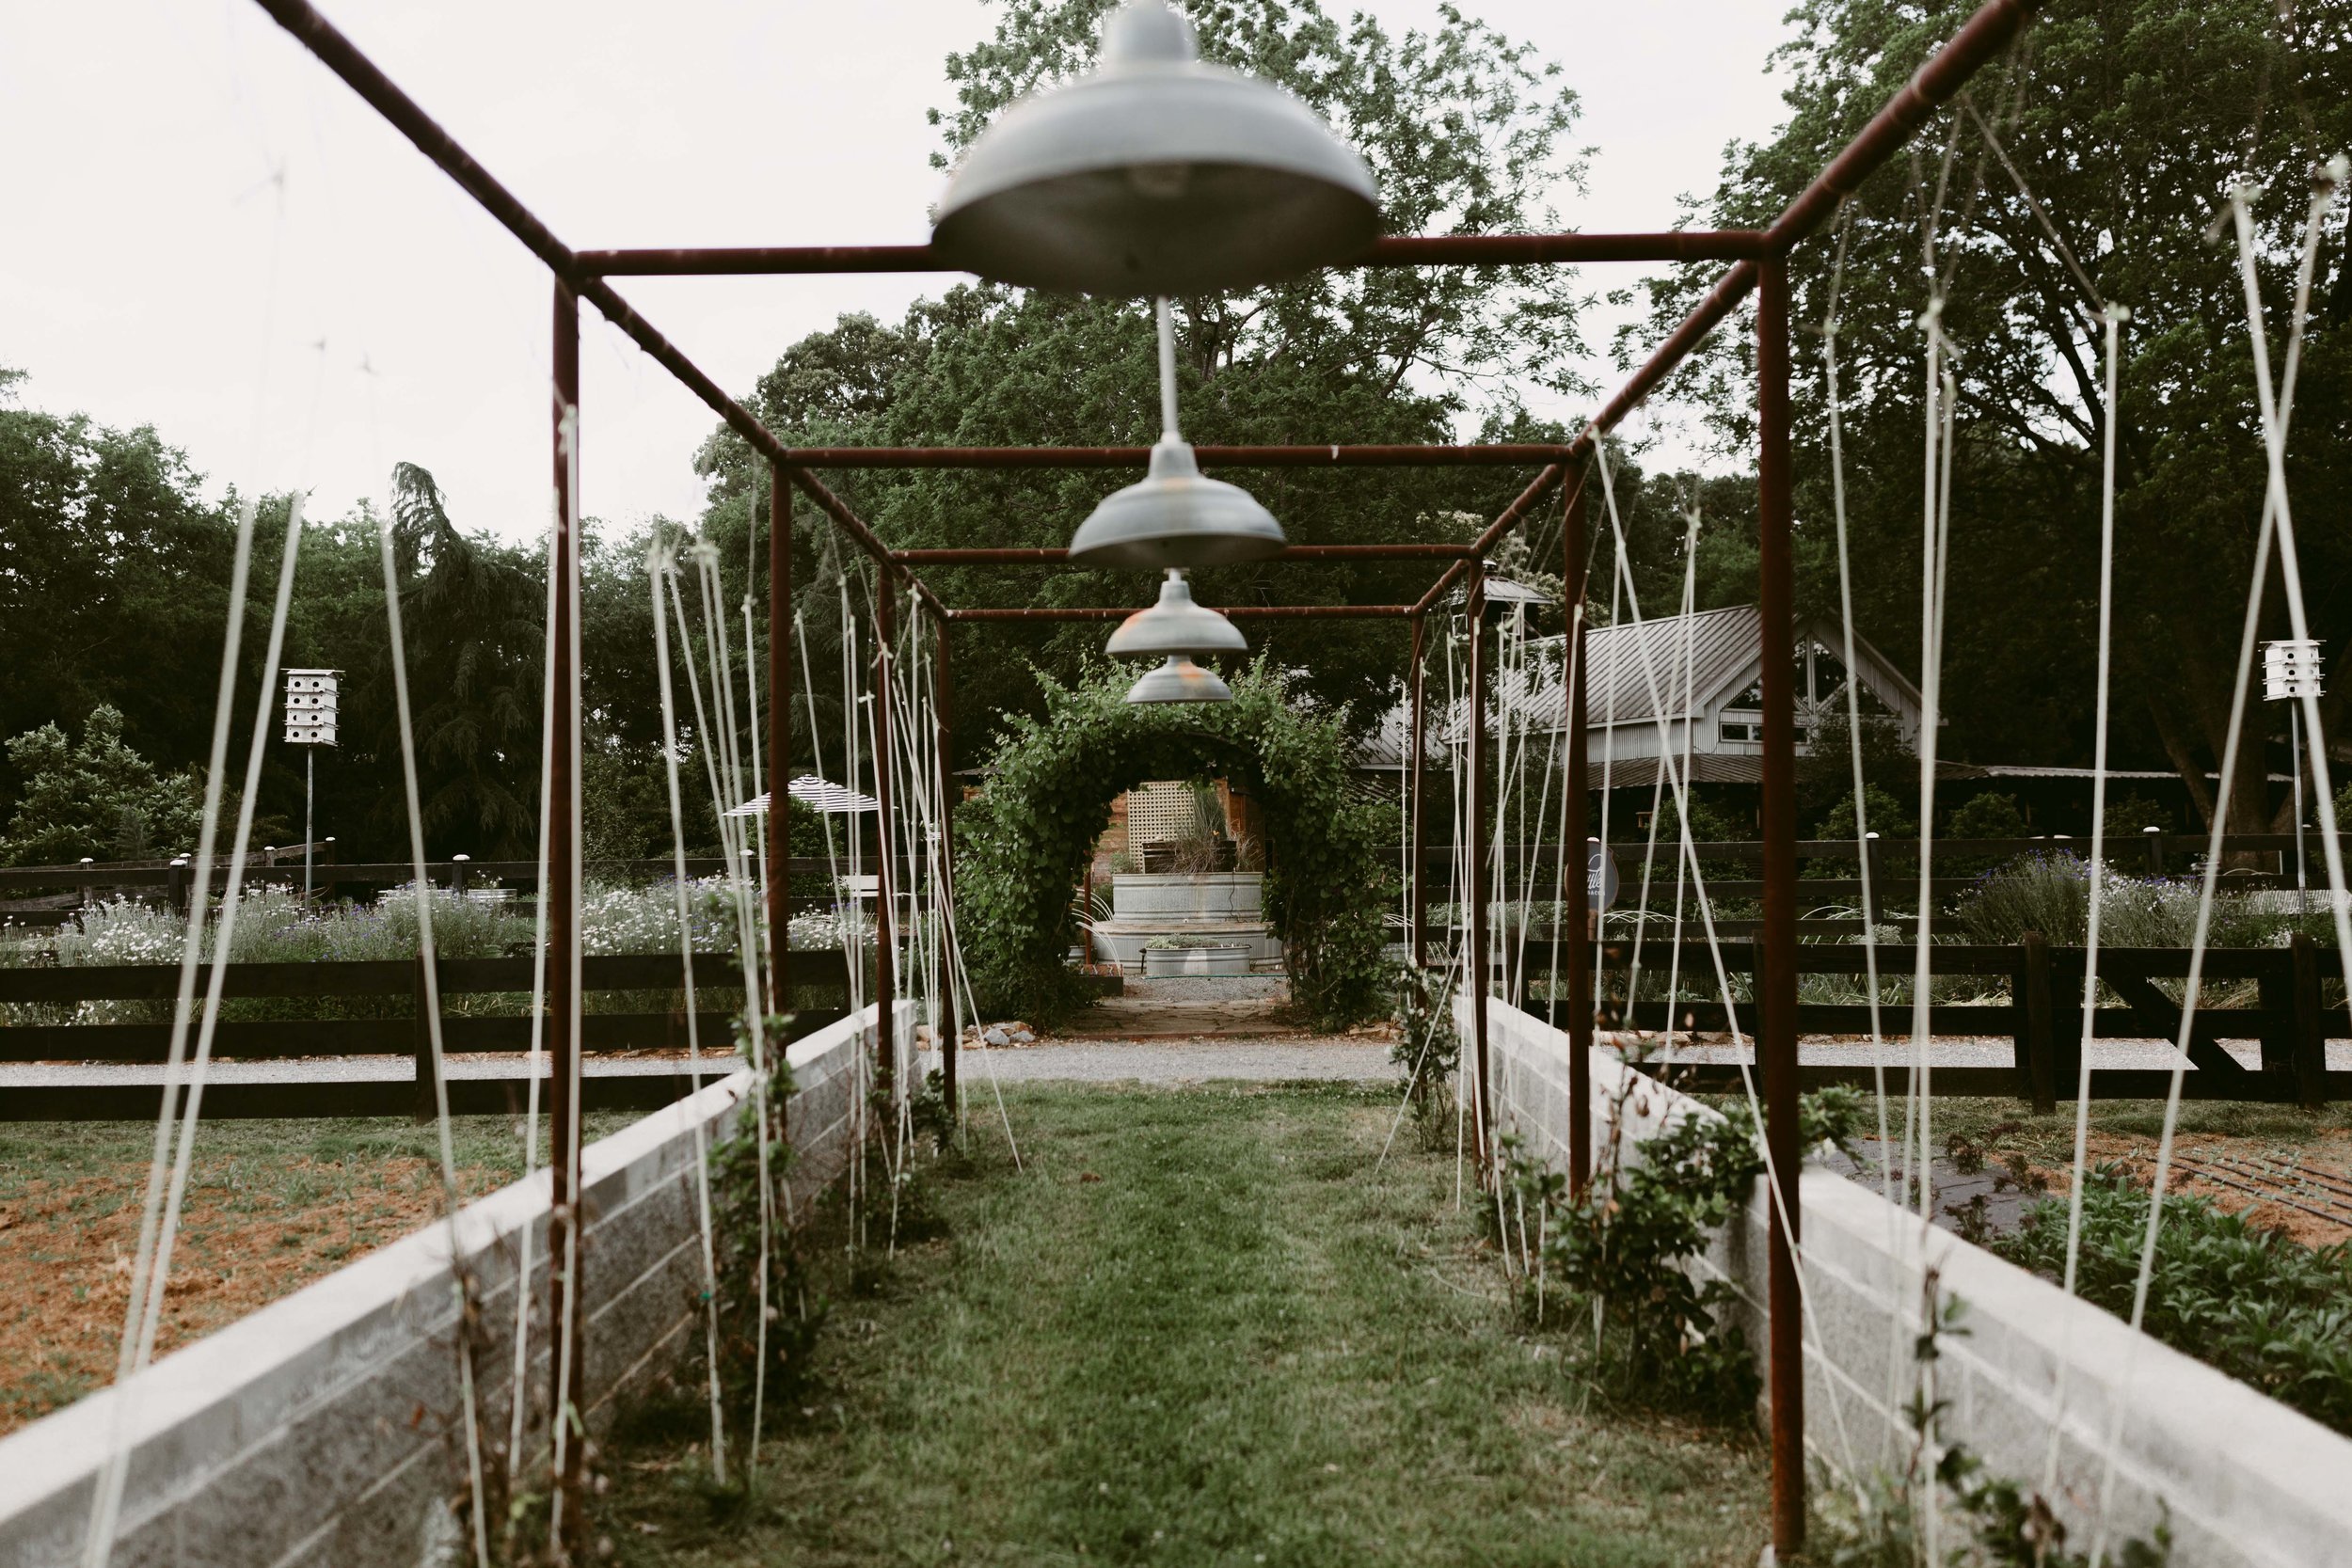
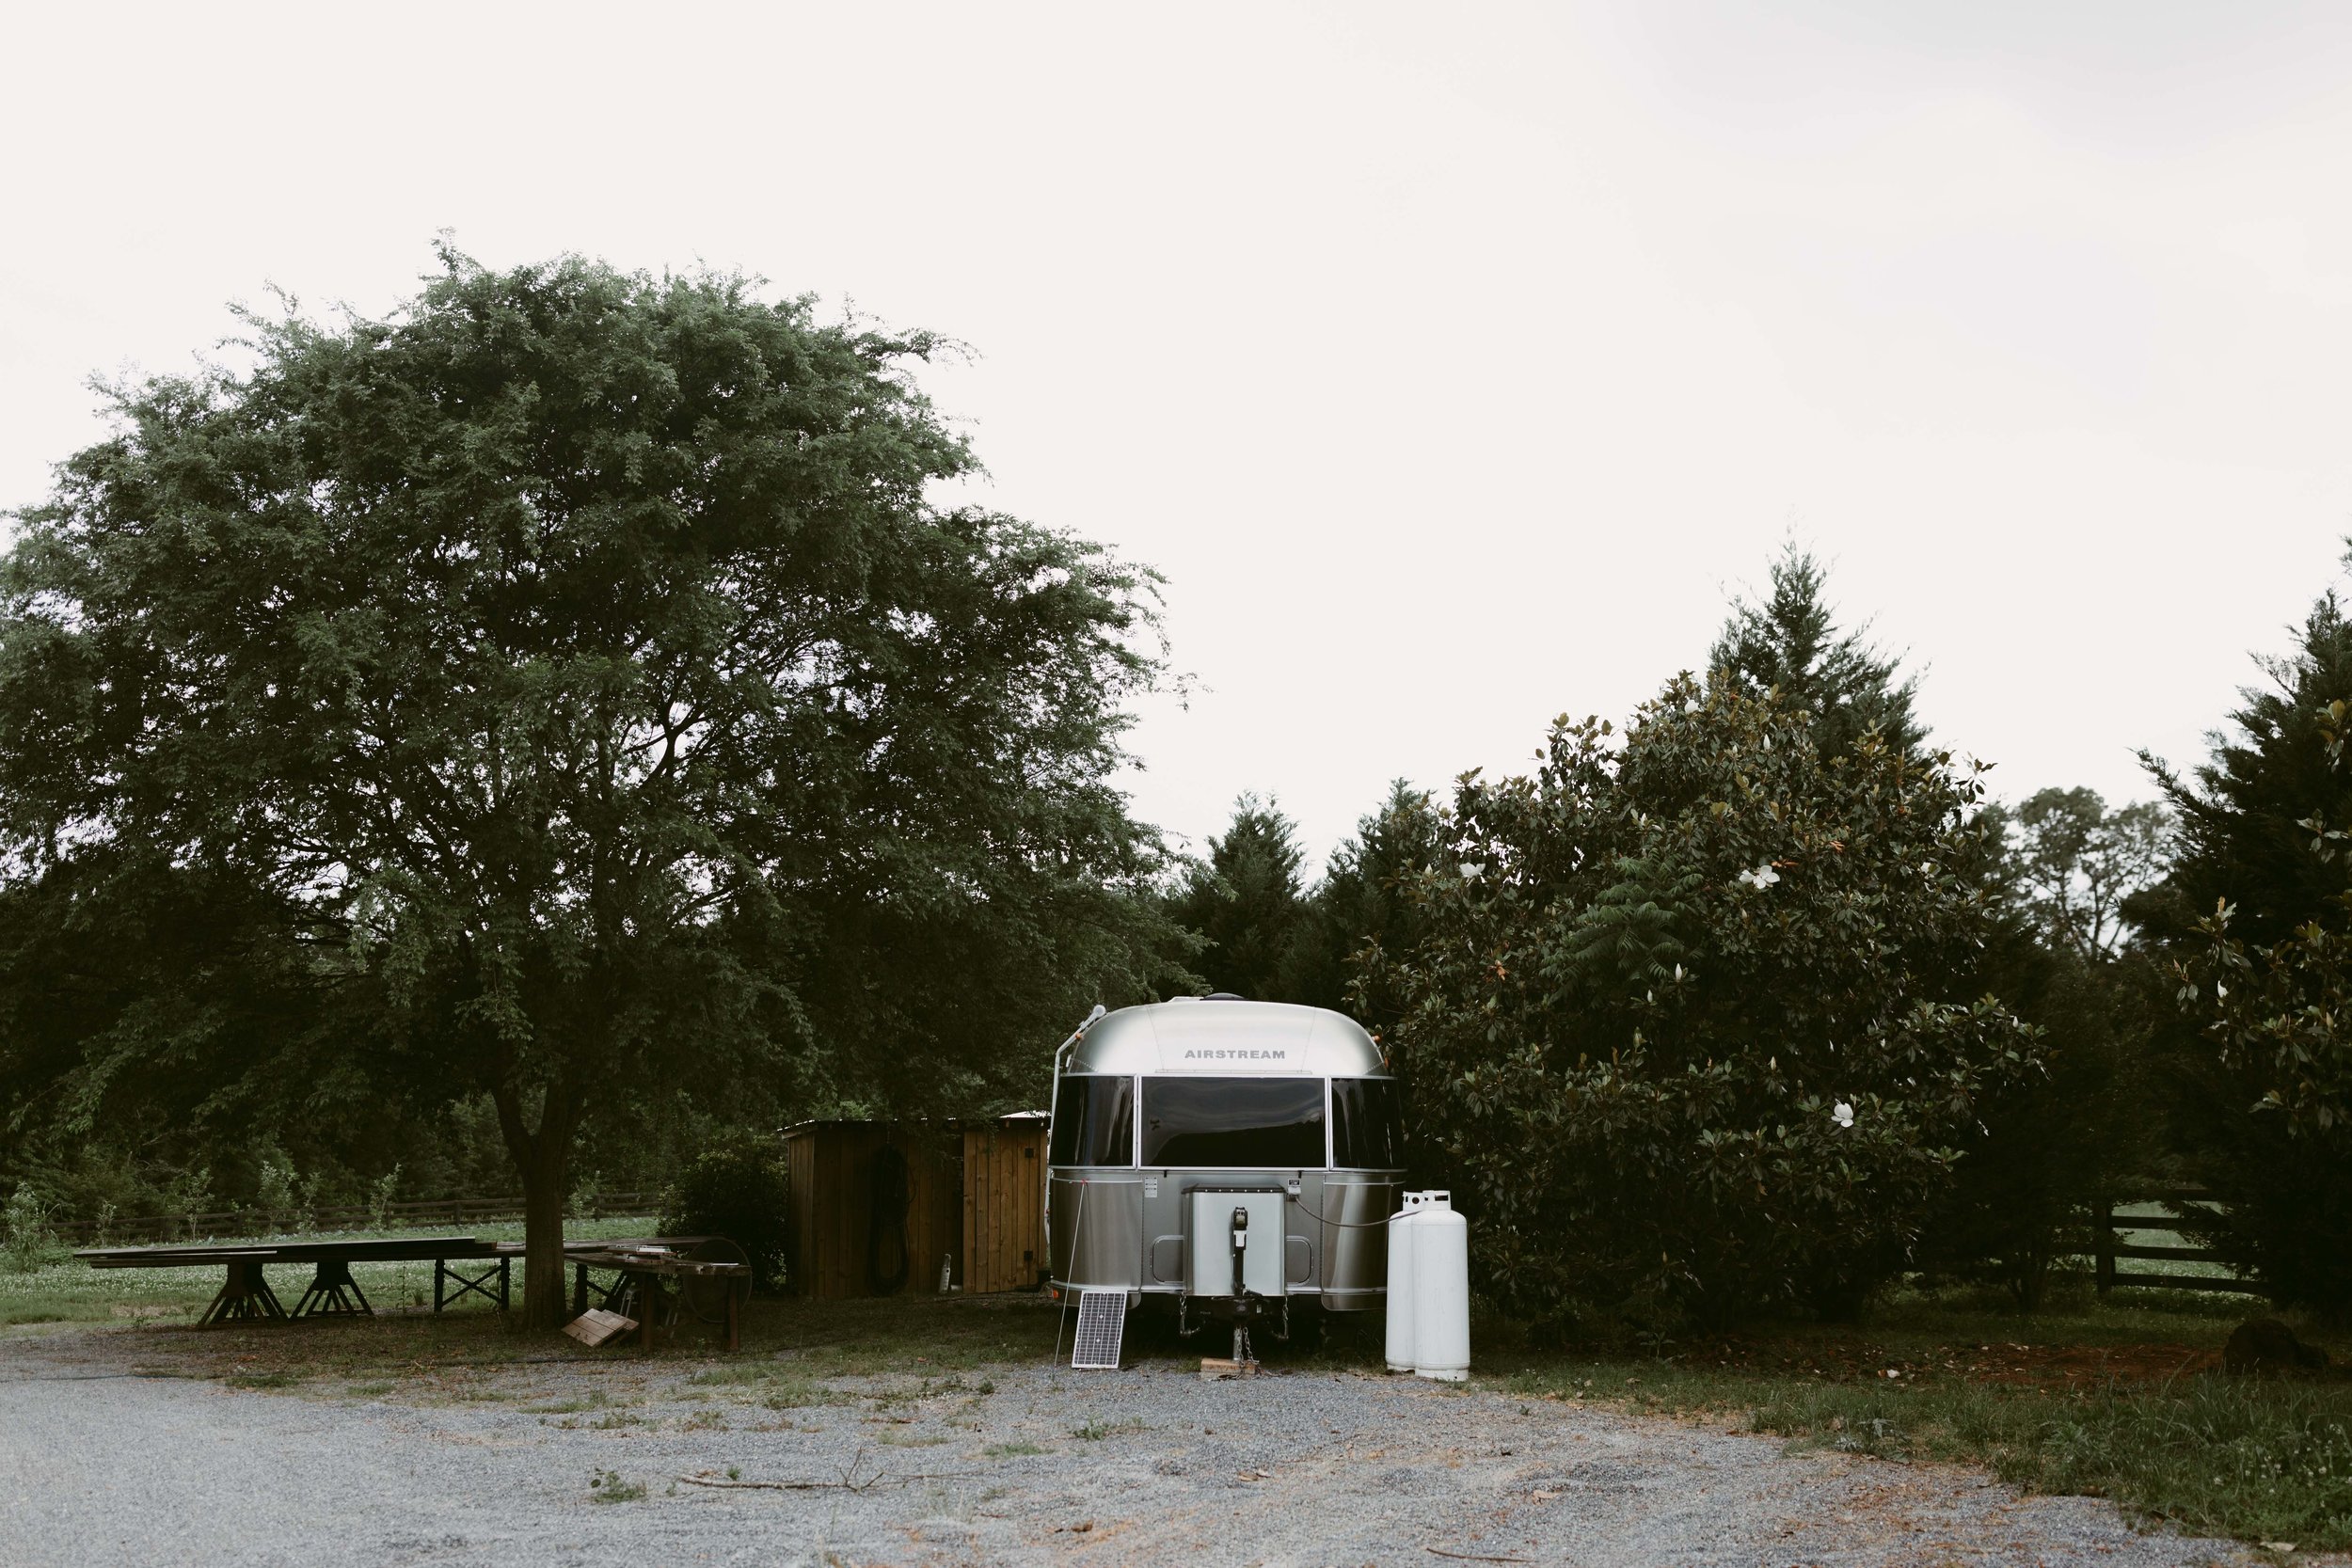


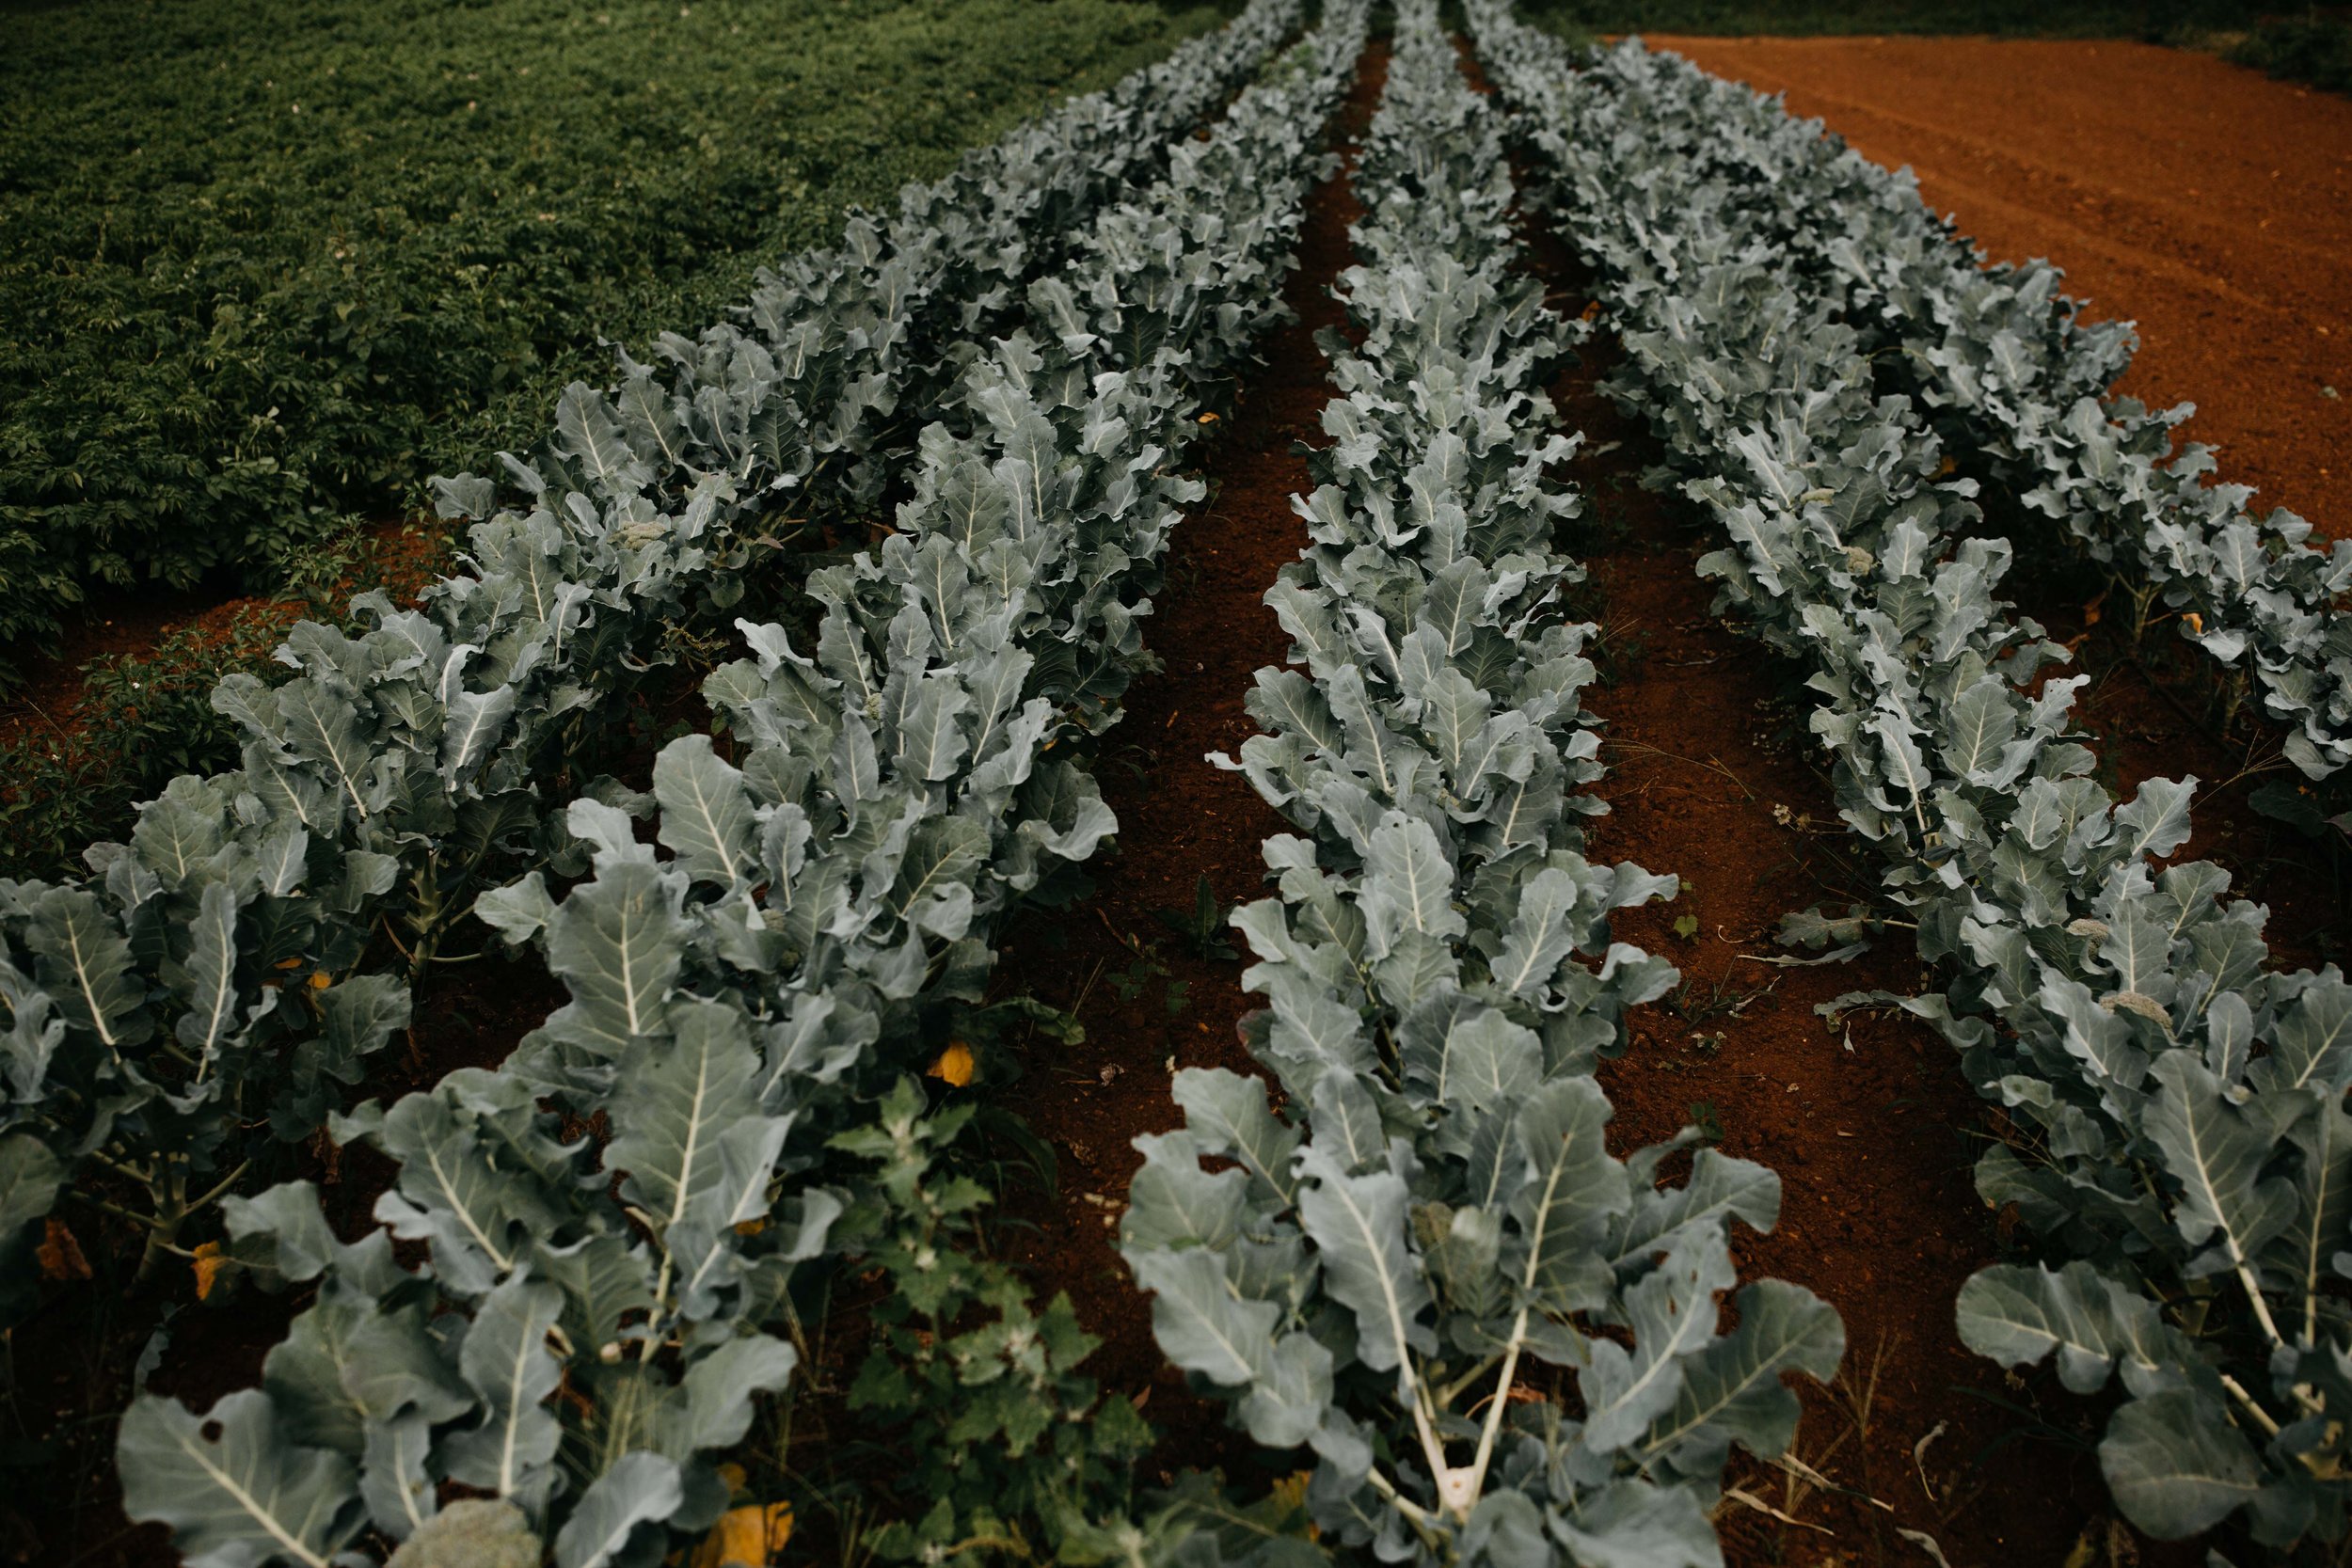
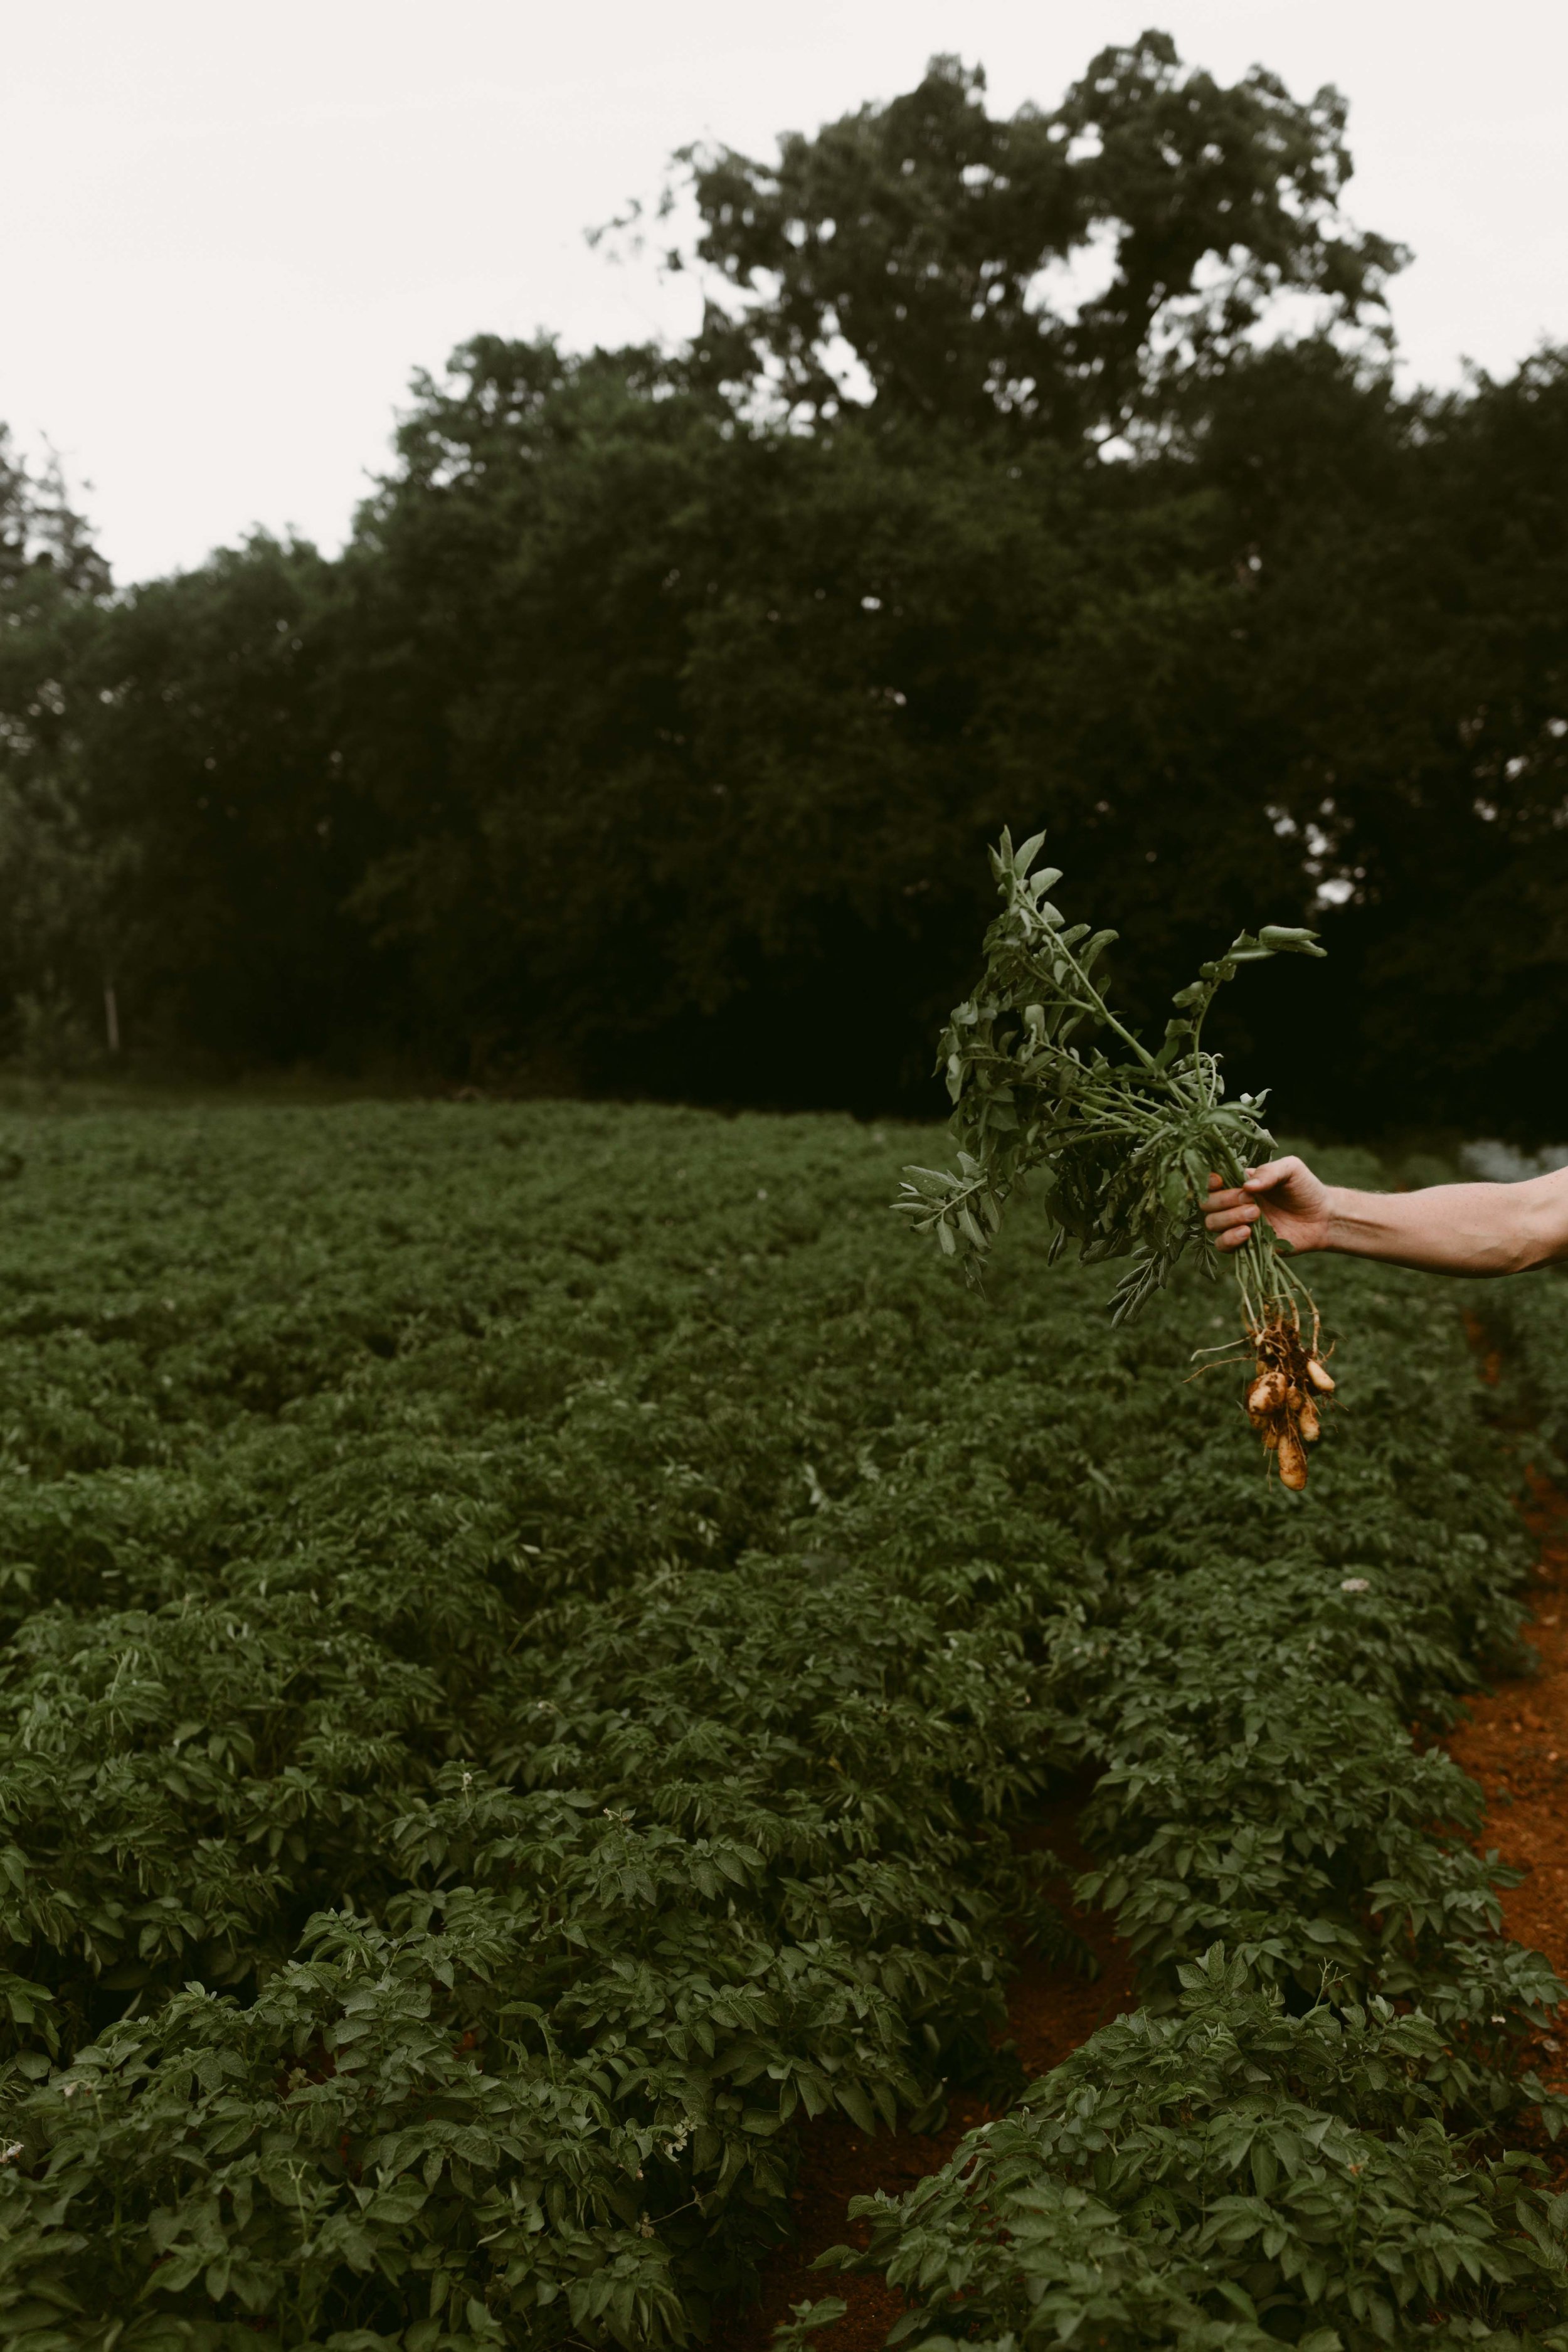
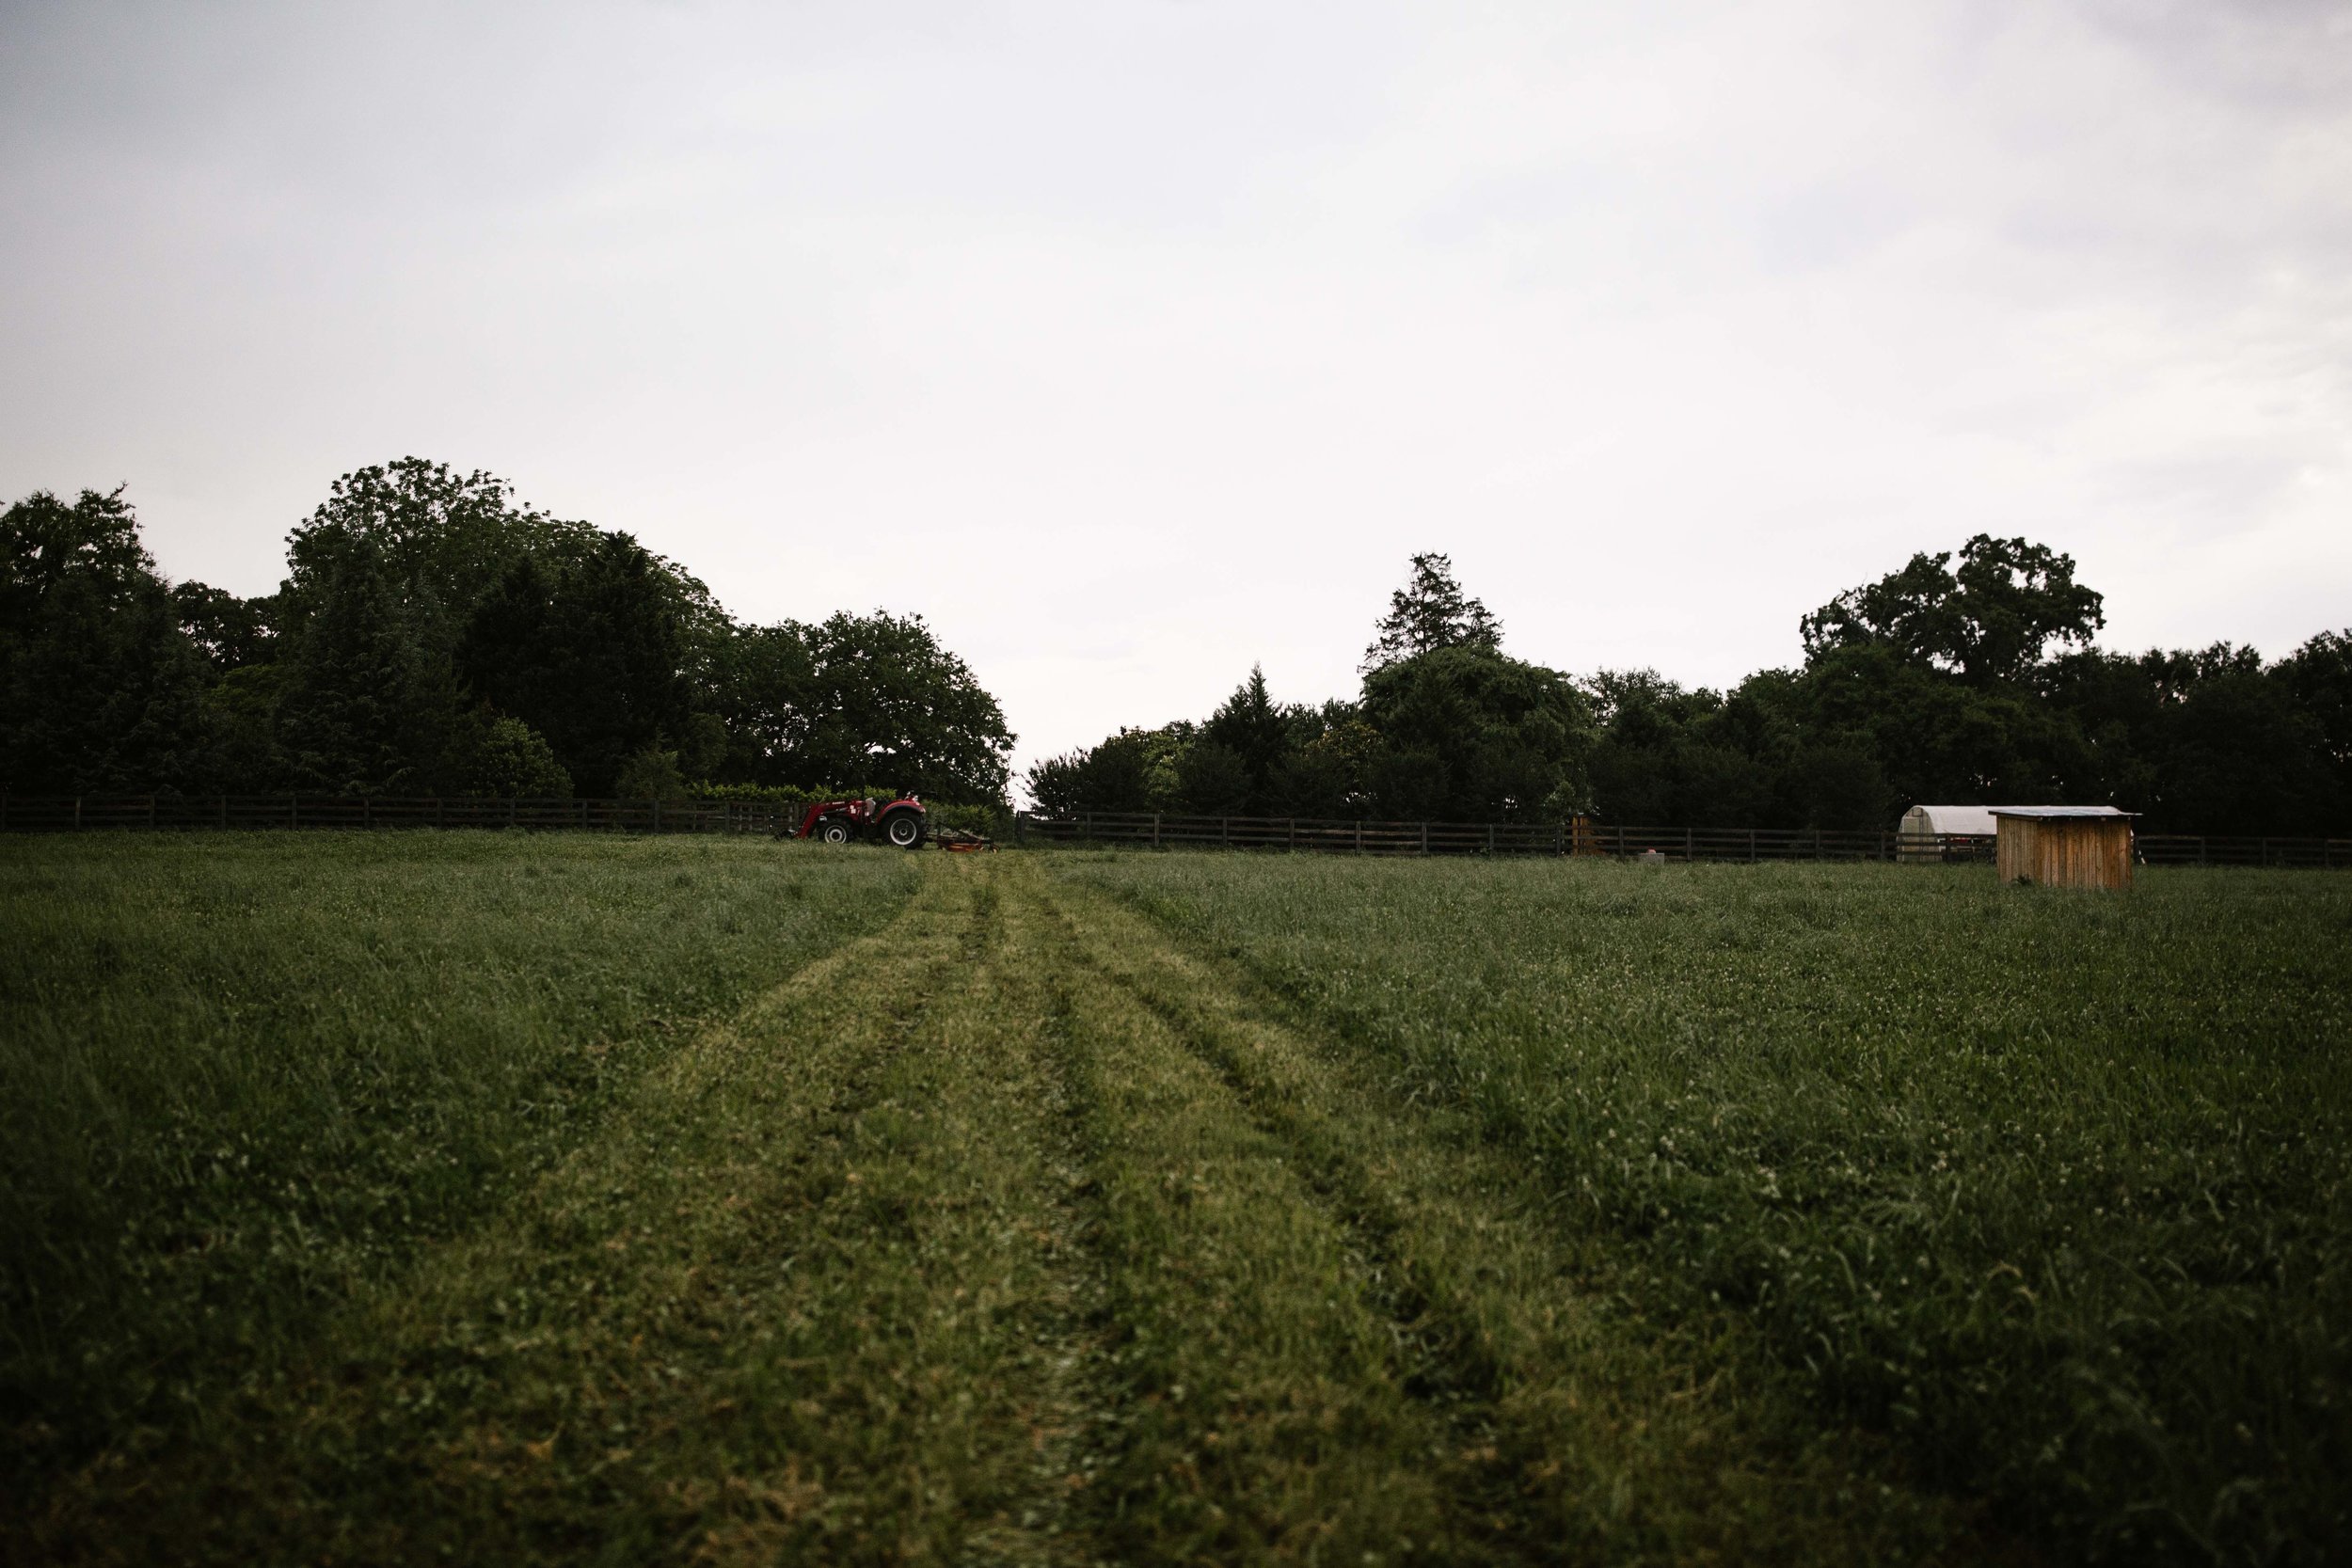

Sandee Jarnac
Farm Manager

SUMMERLAND
A cookbook that makes each month's harvest a reason to celebrate,
in the refined yet relaxed style of the South.
Watermelon Sangria
Serves 20
Melons are cool reward on long, hot summer days. In the South, we like to eat our melons with a little salt-or drink them with a little wine, as in this sangria. Between our own harvest at Summerland Farm and the melons raised by some of our local organic suppliers, we end up with quite an assortment. I love the names of the heirloom varieties-Moon and Stars, Sorbet Swirl, Yellow Canary, Crimson Sweet, Charentais, Sugar Baby, and muskmelon-almost as much as the taste of their sweet flesh. You should feel free to use whatever kind of melon you have on hand in this recipe, or a combination. If you have a mini melon baller, you might use it to scoop the melon instead of cubing the flesh. To make the melon water, you could us the trimmings that are left over after making the melon cubes or balls. The finishing touch comes from tonic water, whose characteristic flavor comes from quinine. Derived from the cinchona tree, quinine adds a little residual bitterness to balance the sweetness here. Q Tonic makes a delicious tonic water that can be purchased online.

-For the Melon Water-
1 heirloom watermelon (about 8 pounds), peeled, seeded, and roughly chopped
1/4 cup white vinegar or Champagne vinegar, or to taste
Kosher salt
To make the melon water: Puree the chopped watermelon in a blender until smooth. Strain through a fine-mesh strainer lined with cheesecloth to separate out the liquid. It may take an hour or so for the liquid to drip through. Discard the solids. Season to taste with up to 1/4 cup vinegar and salt. You should have at least 3 cups of melon water. The melon water can be made a day or two in advance.
-For the Sangria-
3 (750 ml) bottles pinot grigio
1 1/2 cups Cointreau
6 cups cubed and seeded watermelon
Pinch of kosher salt
10 fresh mint leaves, torn, plus sprigs for garnish
1 (16-ounce) bottle tonic water
To make the sangria: In a large pitcher, combine 3 cups melon water, the wine, Cointreau, and 4 cups of the watermelon cubes. Allow to macerate for approximately 30 minutes. Add the salt and mint.
Serve the sangria in chilled glasses over ice with a splash of the tonic to finish. Garnish each glass with one of the reserved melon cubes and a mint sprig.
Citrus Salad with Dried Olives and Candied Zest
Serves 6
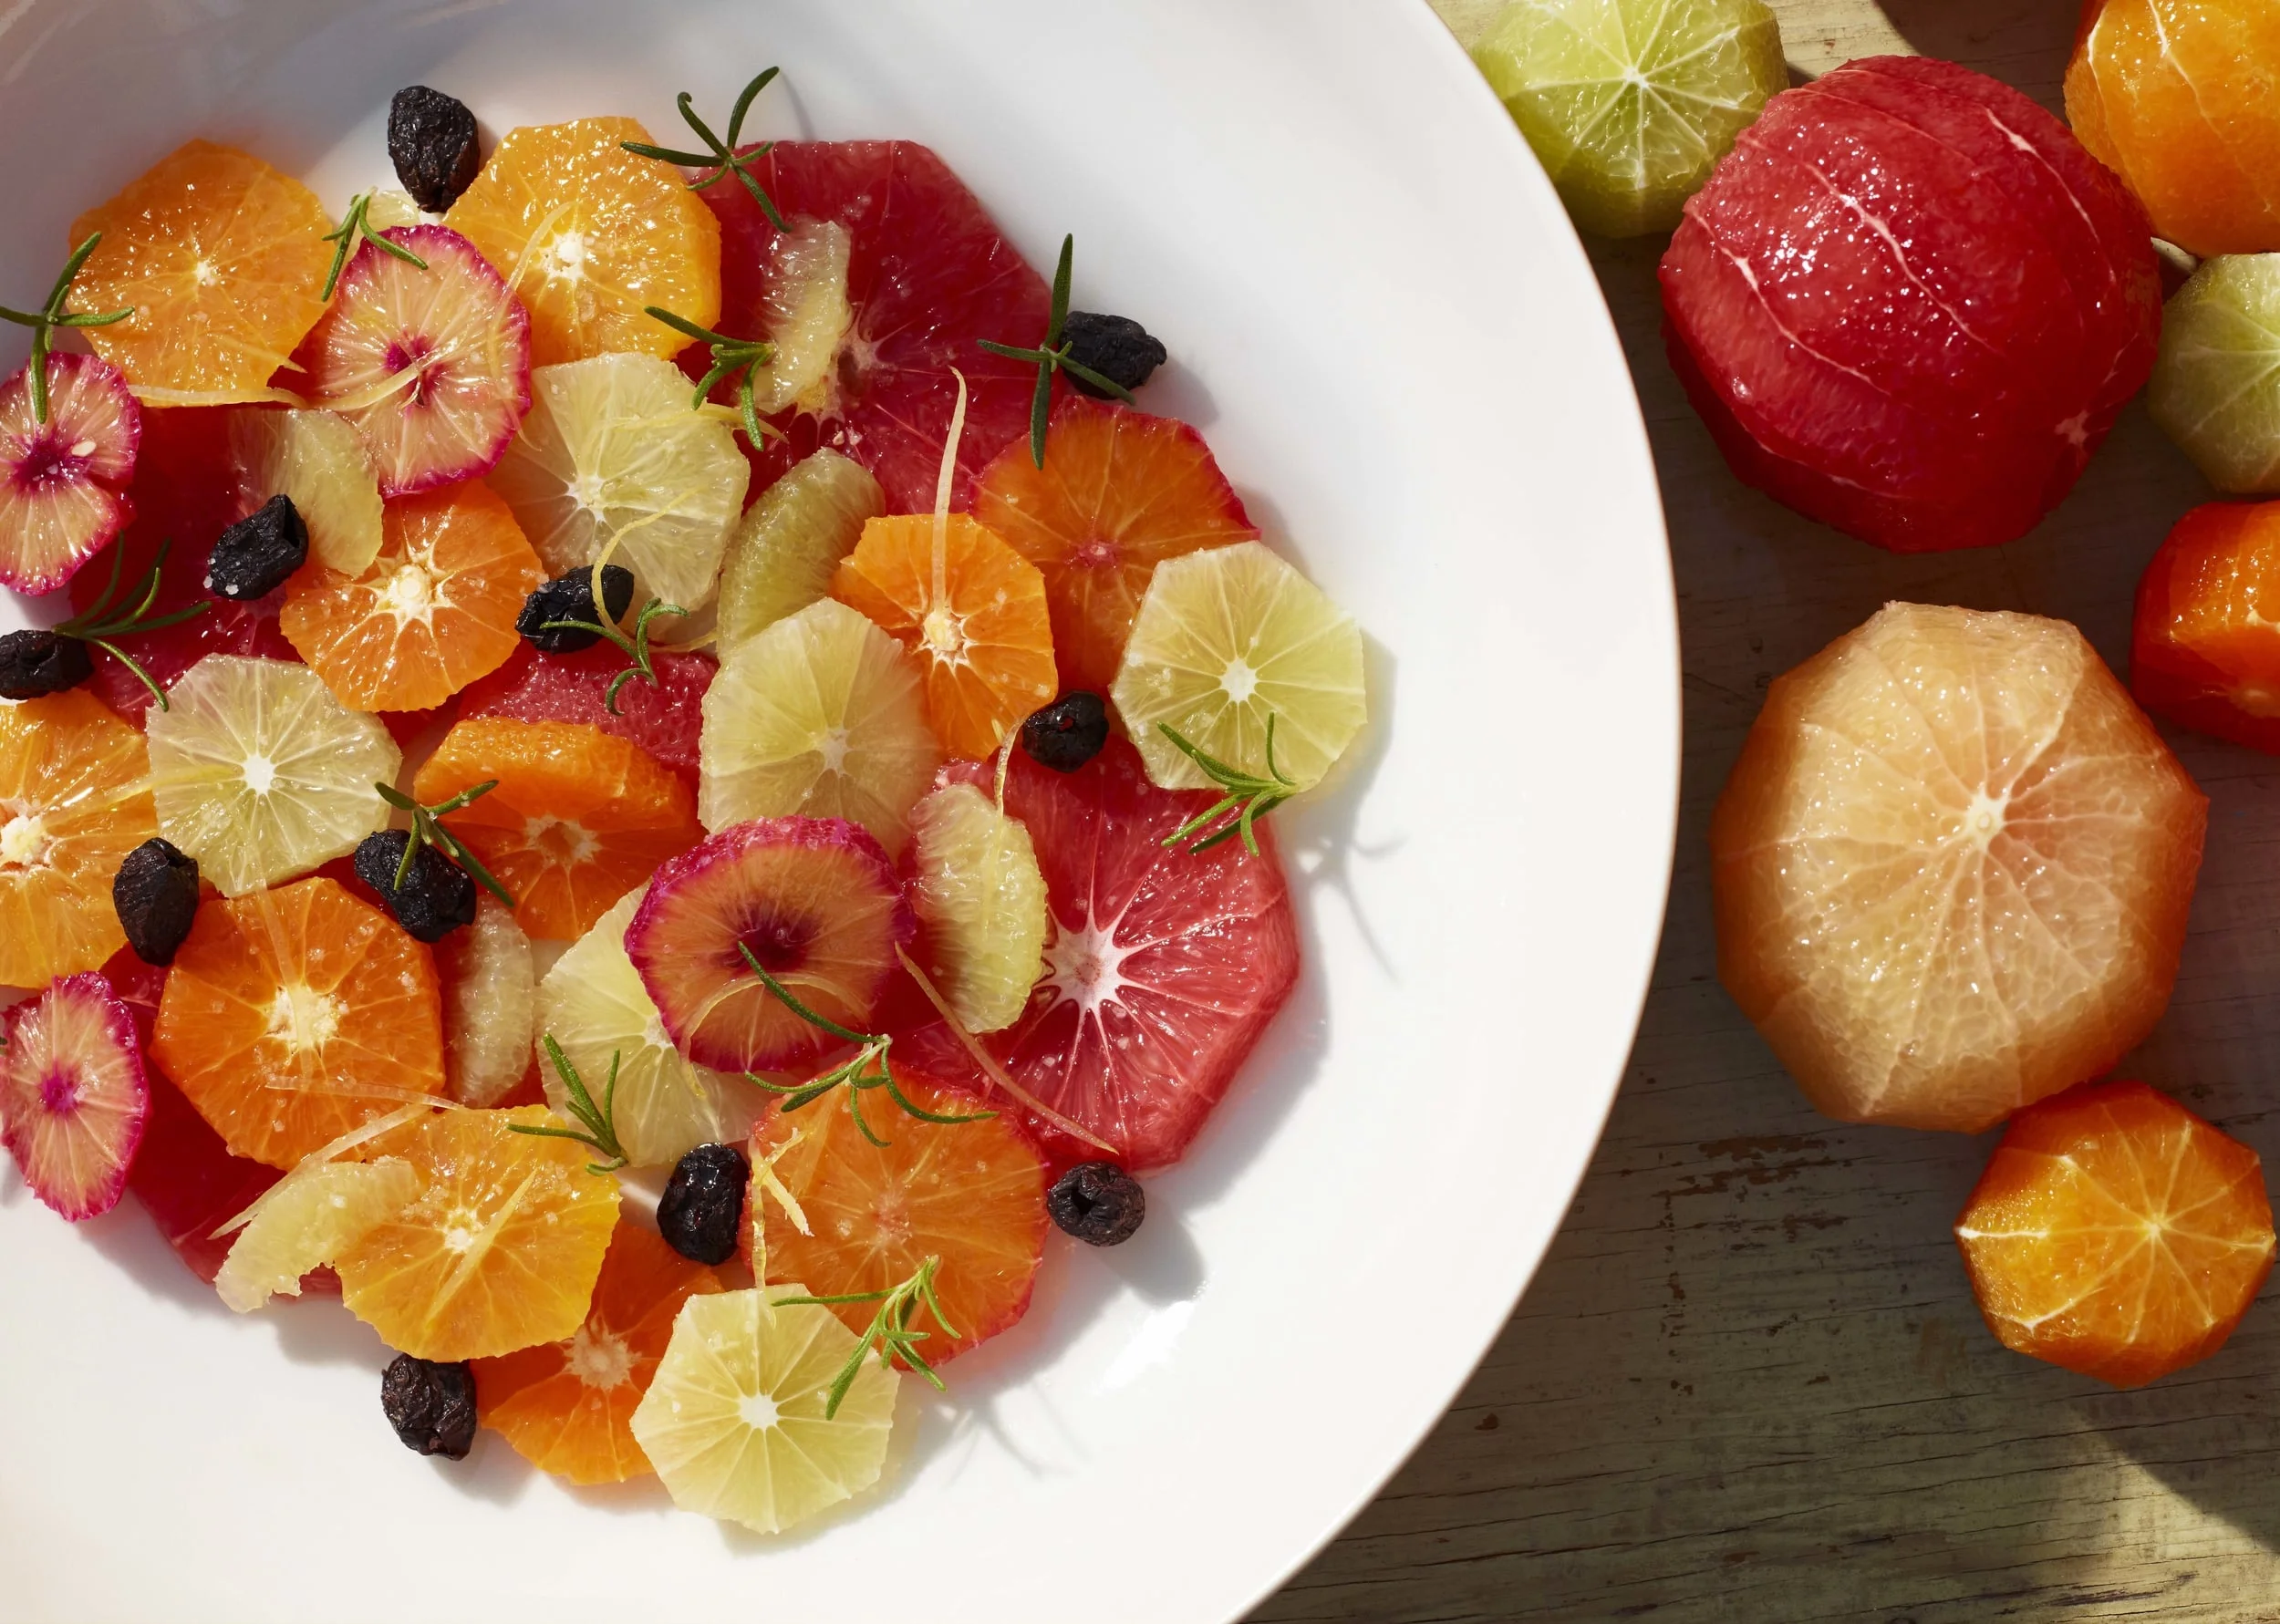
Salty olives and tangy fruit are a wonderful combination in this bright salad. Citrus is the unsung hero of winter-its variety and quality make it your best bet for fruit during the colder months. Every January, I get a box of Honey Bell tangelos from Florida for my birthday, and it is always my favorite gift. Each individual fruit is a ball of sunshine waiting to be peeled. Though you could make this dish with only a few of the fruits mentioned, I suggest you go for maximum variety, as the array of sunny fruits will be as stunningly beautiful as it is delicious. The dried olives and candied lemon zest keep well at room temperature, making them versatile additions to your pantry. The olives are especially nice grated over pizza and pastas, and the zest is a bright garnish for cocktails and desserts.
2 oranges
2 blood oranges
2 ruby red grapefruit
3 tangerines or HoneyBell tangelos
3 clementine oranges
1 Meyer lemon
1 lime
2 teaspoons fruity extra virgin olive oil, preferably French
1 tablespoon honey
Kosher salt
1/2 cup whole Dried Olives (recipe follows), for garnish
1/2 cup Candied Citrus Zest, made with lemons (page 52), for garnish
2 sprigs fresh rosemary, leaves pulled from the stems for garnish
Use a sharp paring knife to peel the oranges, grapefruit, tangerines, clementines, lemon and lime:
Cut the ends of each fruit so you have a flat surface on each end, then place one end down and slice sections of peel from end to end, working your way around the fruit and being sure to remove all of the white pith.
Slice all the citrus into 1/2-inch thick rounds and place in a large serving bowl. Drizzle the fruit with the oil and honey and sprinkle with salt to taste, being mindful that the olives are quite salty. Garnish with the dried olives, candied lemon zest, and rosemary leaves.
Dried Olives
Makes 2 pints
2 pounds pitted Kalamata olives, rinsed and drained
Preheat the oven to 120 to 140℉. (Alternatively, use a food dehydrator to set between 120 and 140℉.) Use paper towels to blot excess oil from the olives. Line a baking sheet with a cooling rack and place the pitted olives on the rack. (The olives should not touch the bottom of the pan; air need to circulate around the olives in order to properly dry them.)
Place the pan in the oven and dry the olives for 8 to 12 hours. The oven should be warm enough to remove all of the moisture, but you want to be careful to avoid cooking the olives. (If your oven does not have a setting below 200℉, then preheat it to 200℉ and turn it off after 1 hour of drying the olives, leaving the door closed for the remaining time.) The olives should be shriveled and dry to the touch when done. The olives can be dried ahead of time and will keep well for months in an airtight container at room temperature.
Lobster Brioche Rolls
Makes 32 sandwiches
Lobster rolls are a New England classic, and they are still my favorite things to eat when I visit my father in Connecticut in the summer. In New England, there are two basic varieties of lobster roll, and the debate that rages between their respective proponents is reminiscent of Southerners defending their regional styles of barbecue. Almost all lobster rolls are served on a toasted, buttery brioche bun, but the difference is in the preparation of the lobster meat itself. It can either be mixed with butter and served warm, or tossed with mayonnaise and served cold. I am staunchly opposed to reheating cooked lobster meat, so I fall in the "cold-with-mayonnaise" camp. The quality of the lobster meat will determine the quality of the this sandwich. Use fresh lobster, never canned, never frozen. If you have time, it's absolutely worth the effort to make your own brioche buns, but if you can't, the best substitute would be to slice a fresh, store-bought loaf of brioche and fold the slices into buns, buttering each one liberally before toasting

3 (1 1/4 pound) lobsters
1 cup Homemade Mayonnaise (see page 246)
2 ribs celery, peeled and finely chopped
1 teaspoon minced fresh tarragon, plus whole leaves for garnish
Freshly squeezed lemon juice
Kosher salt
Freshly ground pepper
Brioche Rolls (page 242)
2 tablespoons Clarified Butter (see page 246)
Prepare the lobster: Bring a large pot of water to a rapid boil. Meanwhile, to humanely kill each lobster, insert a sharp knife between the eyes of a lobster and cut straight down the length of the body, stopping at the tail. Cut the tail off the body. Remove the claws by grasping with a kitchen towel and bending them back while twisting. To keep the tail from curling when cooking, insert a skewer into the flesh of the cut side and push it through to the end of the tail. (Discard the bodies or reserve to make lobster bisque. The bodies can be frozen for up to 2 months in a resealable bag.)
Add the claws and tails to the boiling water; you may have to cook the claws and tails separately if you pot is too small. The tails will take 3 to 5 minutes to cook and the claws 5 to 7 minutes, depending on the thickness of the shells. They are done when the shells area deep orangey red color. Prepare and ice bath while the lobsters are cooking: Combine 4 cups ice with 4 cups water in a large bowl. Plunge the lobster pieces into the bath immediately after removing them from the boiling water. Cool completely.
Carefully crack the shells of the claws and remove the flesh with a knife or lobster pick. To remove the flesh of the tail, squeeze the tail to release the meat and pull through the cut side. Finely chop all of the lobster meat. You should have approximately 1 pound.
To make the salad: Combine the chopped lobster, mayonnaise, celery, and minced tarragon in a medium bowl. Mix well and season with lemon juice, salt, and pepper. Taste and adjust the seasoning, if needed. Cover the bowl with plastic wrap and refrigerate until ready to serve. (The lobster salad can be prepared up to 2 hours in advance, but it will become watery if it sits any longer.)
To assemble the sandwiches: Cut the rolls apart (as they will have baked together on the baking sheet). The rolls that were on the outer edge of the baking sheet will have an outer crusty edge; I like to trim this off so that all the rolls will toast evenly. Make a slit in the top of each roll from end to end three quarters of the way through the roll. In a 14-inch nonstick pan, melt 1 tablespoon of the clarified butter over low heat. Working with half of the rolls, brown both sides in the pan, turning. Repeat with the remaining butter and rolls. Push open the slit in the top of the roll and insert 1 1/2 tablespoon of lobster salad. Garnish each roll with a tarragon leaf.
Half-Sour Pickles
Makes 4 quarts
We never have a shortage of cucumbers when they are in season. We also like to preserve them for the times when they aren't, so we turn to the Southern tradition of making pickles. These are our favorites. They can be made with any cucumber, but the pickling variety works best.
1/4 cup pickling salt
5 pounds small pickling cucumbers
6 garlic gloves, unpeeled
6 dill heads or sprigs of fresh dill
2 tablespoons dill seeds
4 small fresh or 4 small dried chiles, such as pequin
1 tablespoon coriander seeds, toasted
1 tablespoon Tellicherry black peppercorns
12 fresh bay leaves
Combine 8 cups water and the pickling salt in a pickle crock or thick-walled ceramic vessel with a lid. Stir well to dissolve the salt.
Wash the cucumbers and remove the stem ends. Crush the garlic cloves with the flat side of a knife. Add the cucumbers to the salted water, then add the garlic, dill, dill seeds, chiles, coriander seeds, peppercorns, and nay leaves. Stir gently to distribute the spices evenly.
Place a weight or ceramic plate in the crock to keep the cucumbers submerged in the brine. Cover the crock with the lid or plastic wrap and store at room temperature (68℉) for 3 to 5 days. Check the crock once a day and use a spoon to remove any bubbles or scum that have formed on the top. Taste the pickles after 3 days and if you prefer them to be more sour, let brine for 1 or 2 more days. Once the pickles are sour, they should be stored in the refrigerator. They will keep for several weeks in a sealed container.
Honey-Roasted Peaches with Chamomile Ice Milk
Serves 20
Peaches were our first crop at Summerland Farm, and they are still our most prolific. Since we do not use pesticides on our trees, the fruit is not always beautiful, but it is always delicious. The annual yield varies depending on weather, but there have been summers when we've harvested hundreds of pounds of peaches. We attempt to use each and every peach we harvest, which can sometimes overwhelm our pastry chef! (Our customers, though, have never complained.) This preparation is the perfect end to a summer day on the lake. We wrap the peaches in foil packets and tuck them around the edges of the grill to roast as the embers are dying. Chamomile and peach is the perfect combination. We add the crunch of granola for a little texture at the end. You can make the ice milk and granola up to several weeks in advance.

10 ripe peaches, halved, stones removed
6 tablespoons wildflower honey
6 tablespoons butter
Chamomile Ice Milk (recipe follows)
1 cup Granola (page 246)
Prepare a grill for indirect heat or preheat the oven to 400℉
Cut 20 (10-inch) squares of foil and parchment paper. Place half a peach on a square of parchment on top of a square of foil. Drizzle with 1 teaspoon of honey and place 1 teaspoon of the butter on top. Fold the parchment and foil over the peach half and crimp the edges to seal. Repeat for all peach halves. Place the foil bundles of peaches around the edges of the mostly burnt-out embers of the fire and allow to slow roast for 10 to 15 minutes. (Alternatively, you can roast the peaches in the oven for about 15 minutes.) The peaches are done when bubbling and tender. Serve immediately, placing a scoop of ice milk in each warm peach half and adding a sprinkle of granola on top.
-For the Chamomile Ice Milk-
Makes 3 quarts
10 cups local organic whole milk
1 3/4 cups granulated sugar
1/4 cup dried chamomile flowers
1 teaspoon oure vanilla extract
Pinch of kosher salt
In a 4-quart saucepan, combine the milk, sugar, chamomile, vanilla, and salt and place over medium heat, being careful not to boil and scorch the milk. Once the mixture is hot, remove from the heat and cover, allowing the chamomile to steep for 15 minutes. Taste to be sure it is infused to your liking; you can steep for longer depending on your preference.
Strain the mixture through a fine-mesh strainer into a bowl (discard the chamomile) and let cool. Churn in an ice cream maker according to the manufacturer's directions.

Anne Quatrano, Chef-Owner

Clifford Harrison, Chef-Owner

